
The Minimalist Traveler's Photo Kit
Updated On: 08/07/2026
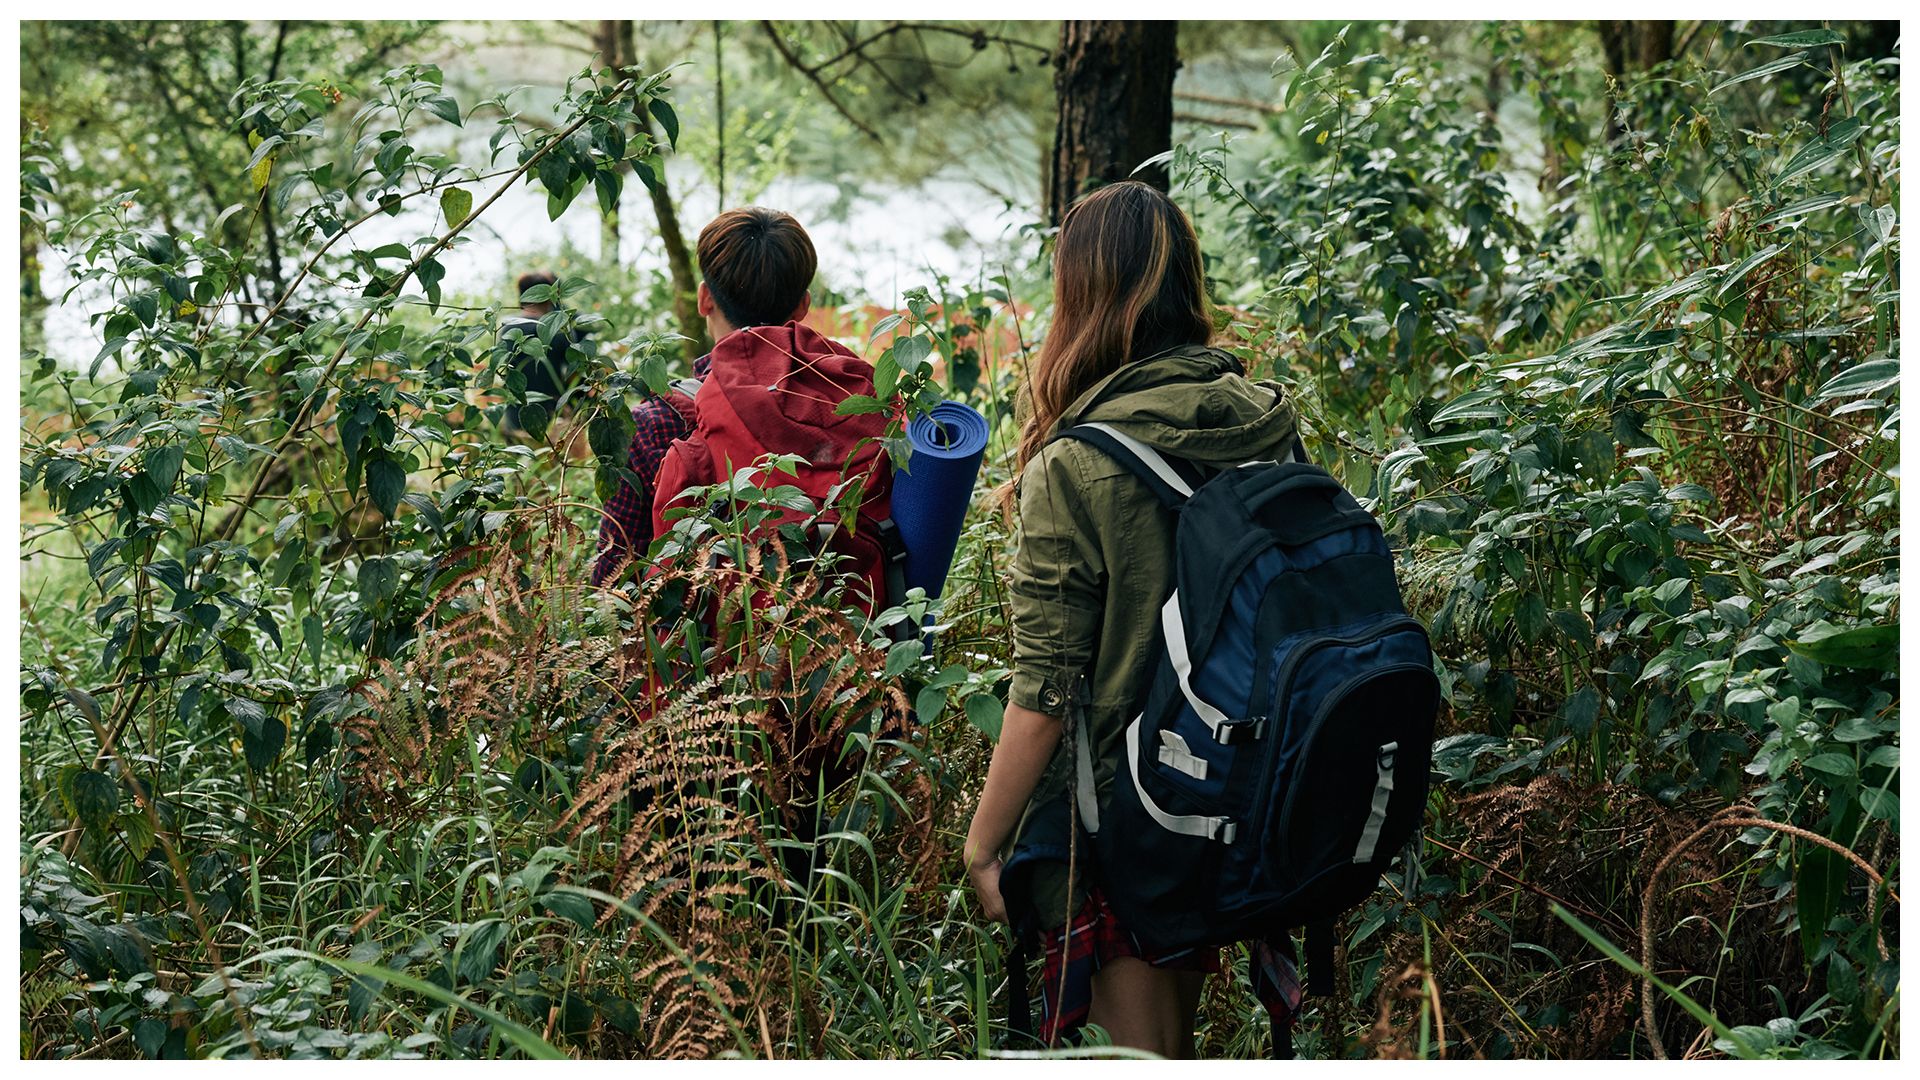
Travelling gives you an amazing opportunity to explore, learn, and enjoy the craft of photography. New sights, experiences and people to shoot all while relaxing. It’s a great experience, but it took me many trips to hone the perfect kit for my type of travel photography. Let’s talk tips, and how you too can build the minimalist travel kit.
The Rundown:
- Travelling light for a more enjoyable trip.
- Essential gear for any time of day.
- Balancing shooting versatility and comfort.
I love travelling! It’s something everyone should experience, but if you’re anything like me the first trip you take will involve taking everything (including the kitchen sink) with you in your photography kit. It might give you a warm fuzzy feeling inside knowing that you can handle any photography situation, but your back and carry on limits are not going to like you for long.
I’m going to preface this with a disclaimer. My day to day kit while travelling is still a little on the heavy side, but not as ridiculously heavy as some photographer's kits. I’ll provide some alternatives for some part of the kit for anyone looking for a lighter load.
Anyhoo, let’s move onto each part of the kit and what you should consider.
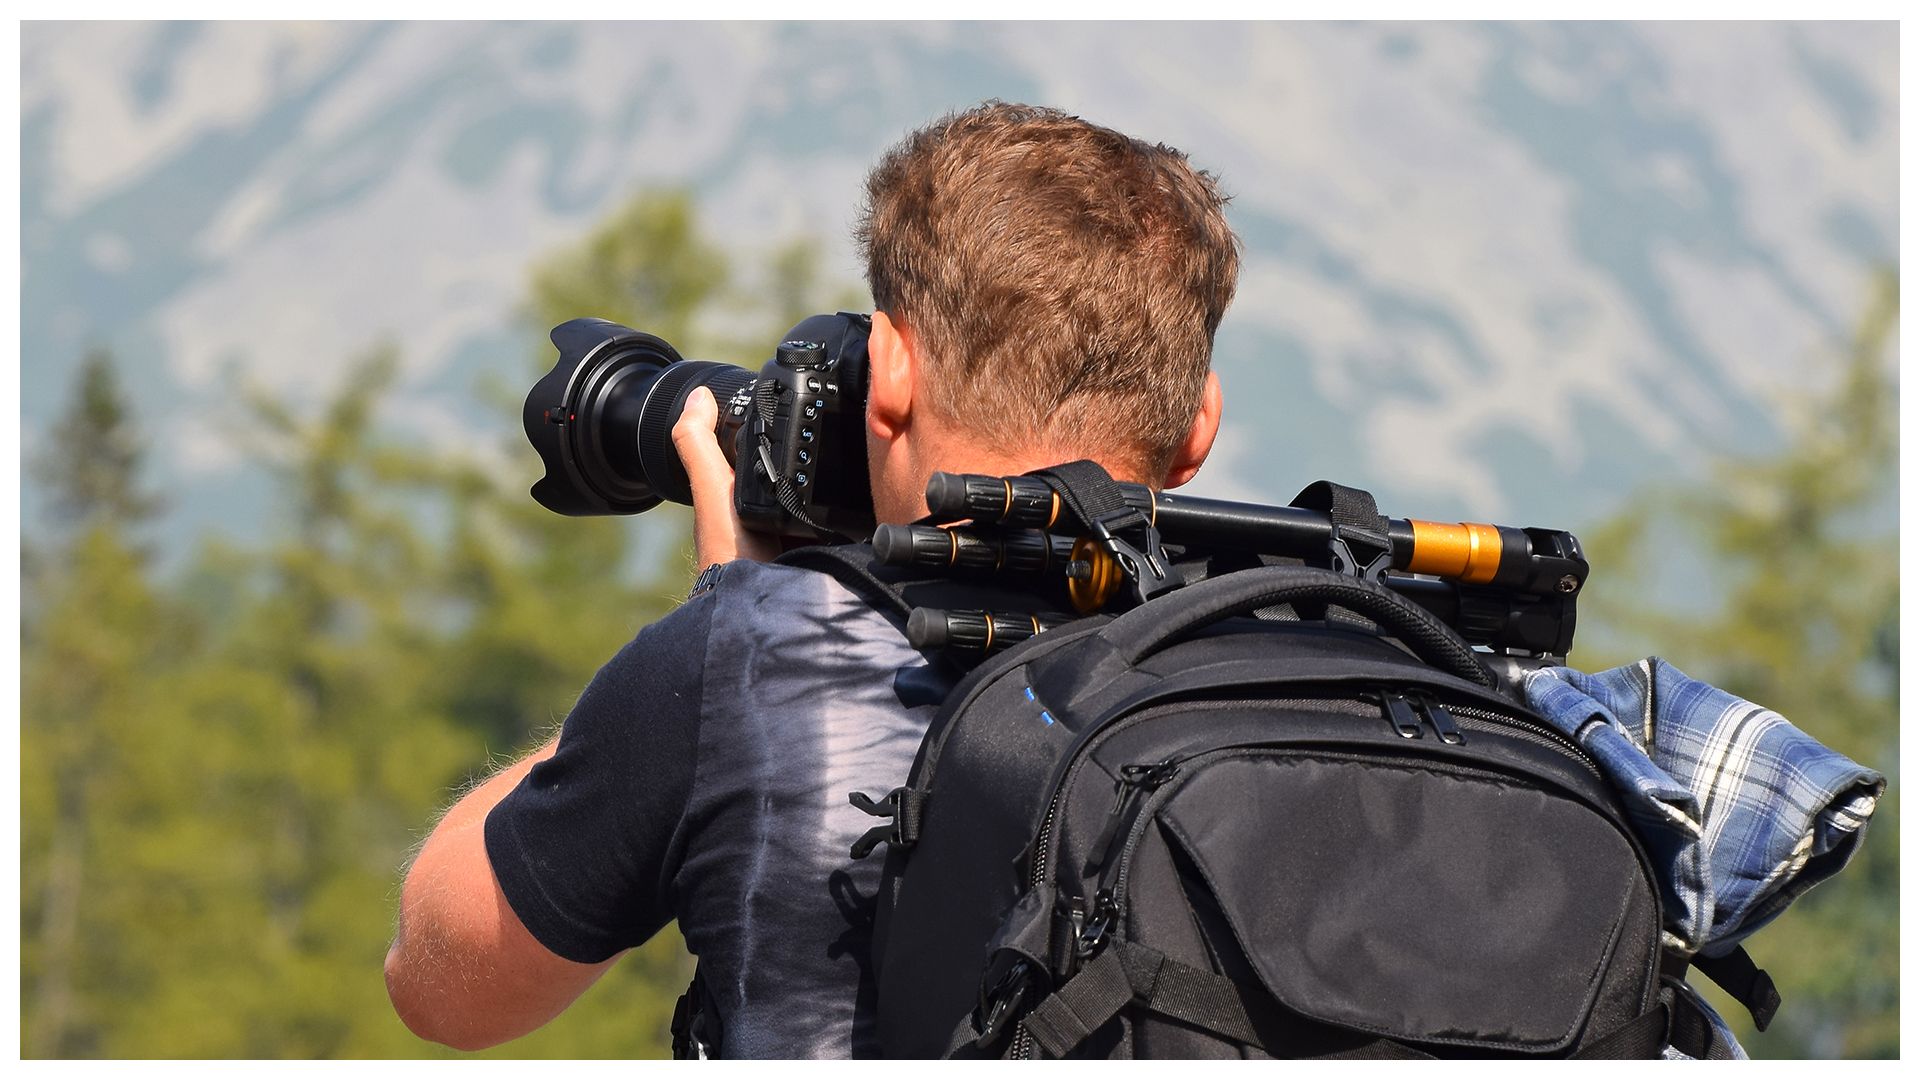
The Essential Tripod
I’ve written before about what makes a good tripod For travelling, it’s good to remember that you’ll be carrying it almost everywhere, so a compact lightweight tripod is a must. You’ll often find places where you have limited space to set up, and having a tripod that doesn’t take up much space will also reduce the chance that you’ll get politely asked to move on.
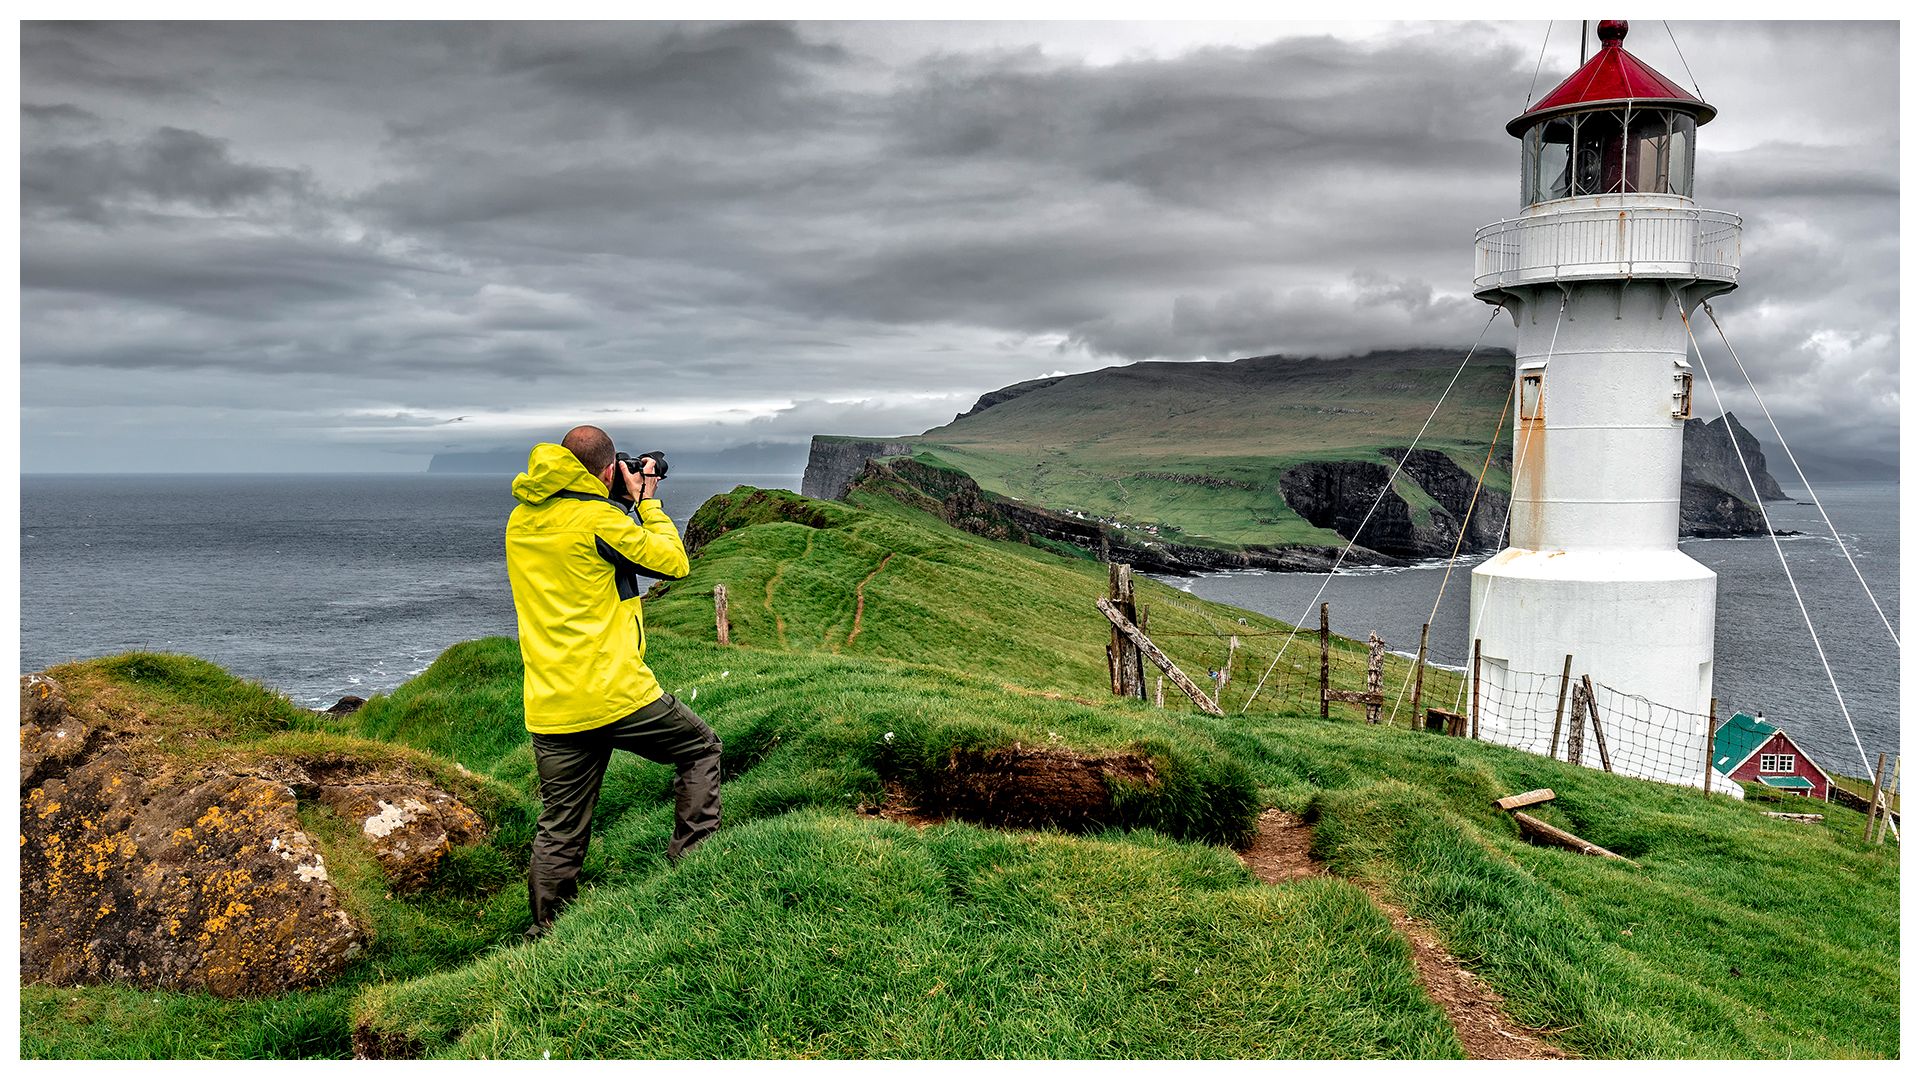
A good travel tripod also really surprised me with how essential it’s been for my style of photography. It took me a few trips to realise its importance, but it’s become an integral part of my travel kit. It allows me to extend my shooting into the evening and night, and also take some creative shots using a longer shutter speed.
My recommendations here would be for a compact, light, carbon fibre tripod, but any light and compact tripod will enhance your photography. Just make sure it can support whatever lens and camera combination you have.
The Importance of Filters
Another useful part of a travel kit. Lens filters can help you deal with some tricky shooting conditions. My absolutely essential recommendation is to take at least a large diameter circular polariser filter. Polariser filters can remove glare and reflections from surfaces which don’t really have an alternative post processing editing fix. The good thing here is that you only need one filter that fits the largest diameter lens you have, and then you can use step down rings to adapt them to your other lenses.
My other recommendation is equipping your lenses with UV filters as protection. These aren’t generally needed if you’re good with your gear, but I’ve been in some situations like shooting near ocean spray, or in dusty deserts, where the extra protection has been a godsend when avoiding corrosion and damage.
You may also want to look into ND filters as well. They’re great at letting you do long exposure shots during the day without needing to narrow down your aperture too much and risk diffraction.
The Right Bag for You
Finding the right bag can be tough. The two main considerations are comfort and capacity.
When travelling, I consider comfort to be an important factor in choosing the right bag. Camera bags generally come in messenger bag, sling, or backpack styles. My preference is to use a backpack for it’s great weight distribution and capacity, but you can go for smaller messenger bags or slings bags if your kit is small and light.
It’s good also to remember that you can treat your camera bag as a day bag too, carrying snacks, wet weather gear, and your travel essentials (passport, tickets, etc). Like I mentioned above, I found backpacks to strike the right balance when travelling.
Lens Selection for Pragmatists
Deciding on which lenses to take is hard. It’s kind of like having to choose between your children! There’s no right or wrong answer, only the best choice for your shooting style, and the types of shots you want to take.
For me, I’ve settled on a full frame 24-70mm f/2.8 standard zoom, and a 70-200mm f/2.8 tele zoom. I found that the majority of my shots I take are within the standard zoom range, and that I also take some wildlife shots with the 70-200mm range, or use it when I want to isolate my subject. For travelling I’d normally consider the above standard zoom as heavy, but it has amazing image quality, so the trade off is worth it if I’m going to be constantly shooting on it. If you find yourself shooting mostly during the day, you can usually find f/4 versions of these lenses which are both lighter and smaller as well.
For an even lighter option with even greater image quality, you might want to consider just bringing prime lenses with you. Sigma just came out with the I-Series of primes lenses that feel amazing to use. I’ve personally used the Sigma 90mm f/2.8 DG DN Contemporary and can vouch for it’s image quality. A selection of primes covering the focal lengths you shoot at might suit you better than zooms.
Camera: Which one? (or two?)
My recommendation here would be to bring the best camera available to you. This can generally mean a bulkier camera, as bulkier cameras generally have larger sensors. There’s a balance to be made for everyone though, so let's consider the following.
For image quality, aim to bring a camera with the largest modern sensor you have. A 35mm Full Frame sensor is going to be better than an APS-C crop sensor, and that’s going to be better than a micro four thirds sensor and smartphone camera sensor. With a larger sensor you’ll enjoy the added dynamic range and low light capabilities that are available to them.
For reduced weight, I’d probably recommend at least an APS-C or m43 camera. They still offer a great balance of image quality and reduced lens and camera weight.
Personally I use a Pentax K1. It’s big and bulky, but has awesome image quality and dynamic range, and is comfortable to use/hold for long periods.
If you want to improve on your kit. I’d recommend also bringing along a second camera. This can be as easy as utilizing your smartphone camera, or for added image quality, a compact APS-C camera. I recommend the mirrorless Ricoh GR IV. It sports a 28mm equivalent lens with an APS-C sensor in a package that can easily fit inside a jacket pocket. Useful for when using a DSLR would draw too much attention.
If you’re also interested in having a lighter camera with great image quality, it can be worth researching the mirrorless full frame and APS-C options available to you.
Accessories Make Life Easy
A couple of things you definitely won’t want to forget are accessories to maintain and keep your camera safe!
Travelling conditions can be unpredictable, so there’s a few things you should prepare for. My recommendation for things to bring along are:
Cleaning Kit
Cleaning kits are lifesavers. You won't believe how easy it is to grime up your gear once you decide to go off the beaten path! My recommendation would be something like the Hahnel Cleaning Kit (5-in-1). A nice option that gives you the basics for cleaning your lenses and camera, and a nice carry pouch to keep it all together.
Memory Cards
You’re going to want to bring a couple of these. I don’t shoot much when I travel (around ~6000 shots on my last trip), but the file sizes quickly add up, especially when shooting in RAW.
Sandisk makes a great range of memory cards well suited for the demands of photography and video.
Weather Protection
I’d highly recommend getting a rain cover for your camera/lens. It’s good protection against rain and snow, and is handy for any dust or ocean spray you might encounter.
Rain covers are light and pack small, so don’t really affect your carry weight.
Power Chargers
If you shoot anything like me you’ll be using much more than a single battery in a day. If you’re finding the same, I recommend getting a third party charger that allows you to charge 2 or more batteries off a single charger. It’s a good way to keep on top of your battery usage on a trip, and helps if you’re got limited time with an available power socket.
Extra batteries are also going to help in this regard. Grab a couple more for your camera for that peace of mind.
Signing Off
Hopefully this gives you a better idea of how to build out your minimalist kit for travelling. There are probably a whole bunch of other tools that would help with your shooting, but I’ve found these to be the essentials. I’ve found that travelling light has always served me well, and worth thinking about since travelling lighter generally leads to a more enjoyable trip!
If you need more information, check out some of our other articles on the C.R. Kennedy Blog.
William Algar-Chuklin is a night and travel photographer based in Sydney, Australia. You can check out some of his work at walgarch.com and on Flickr
