

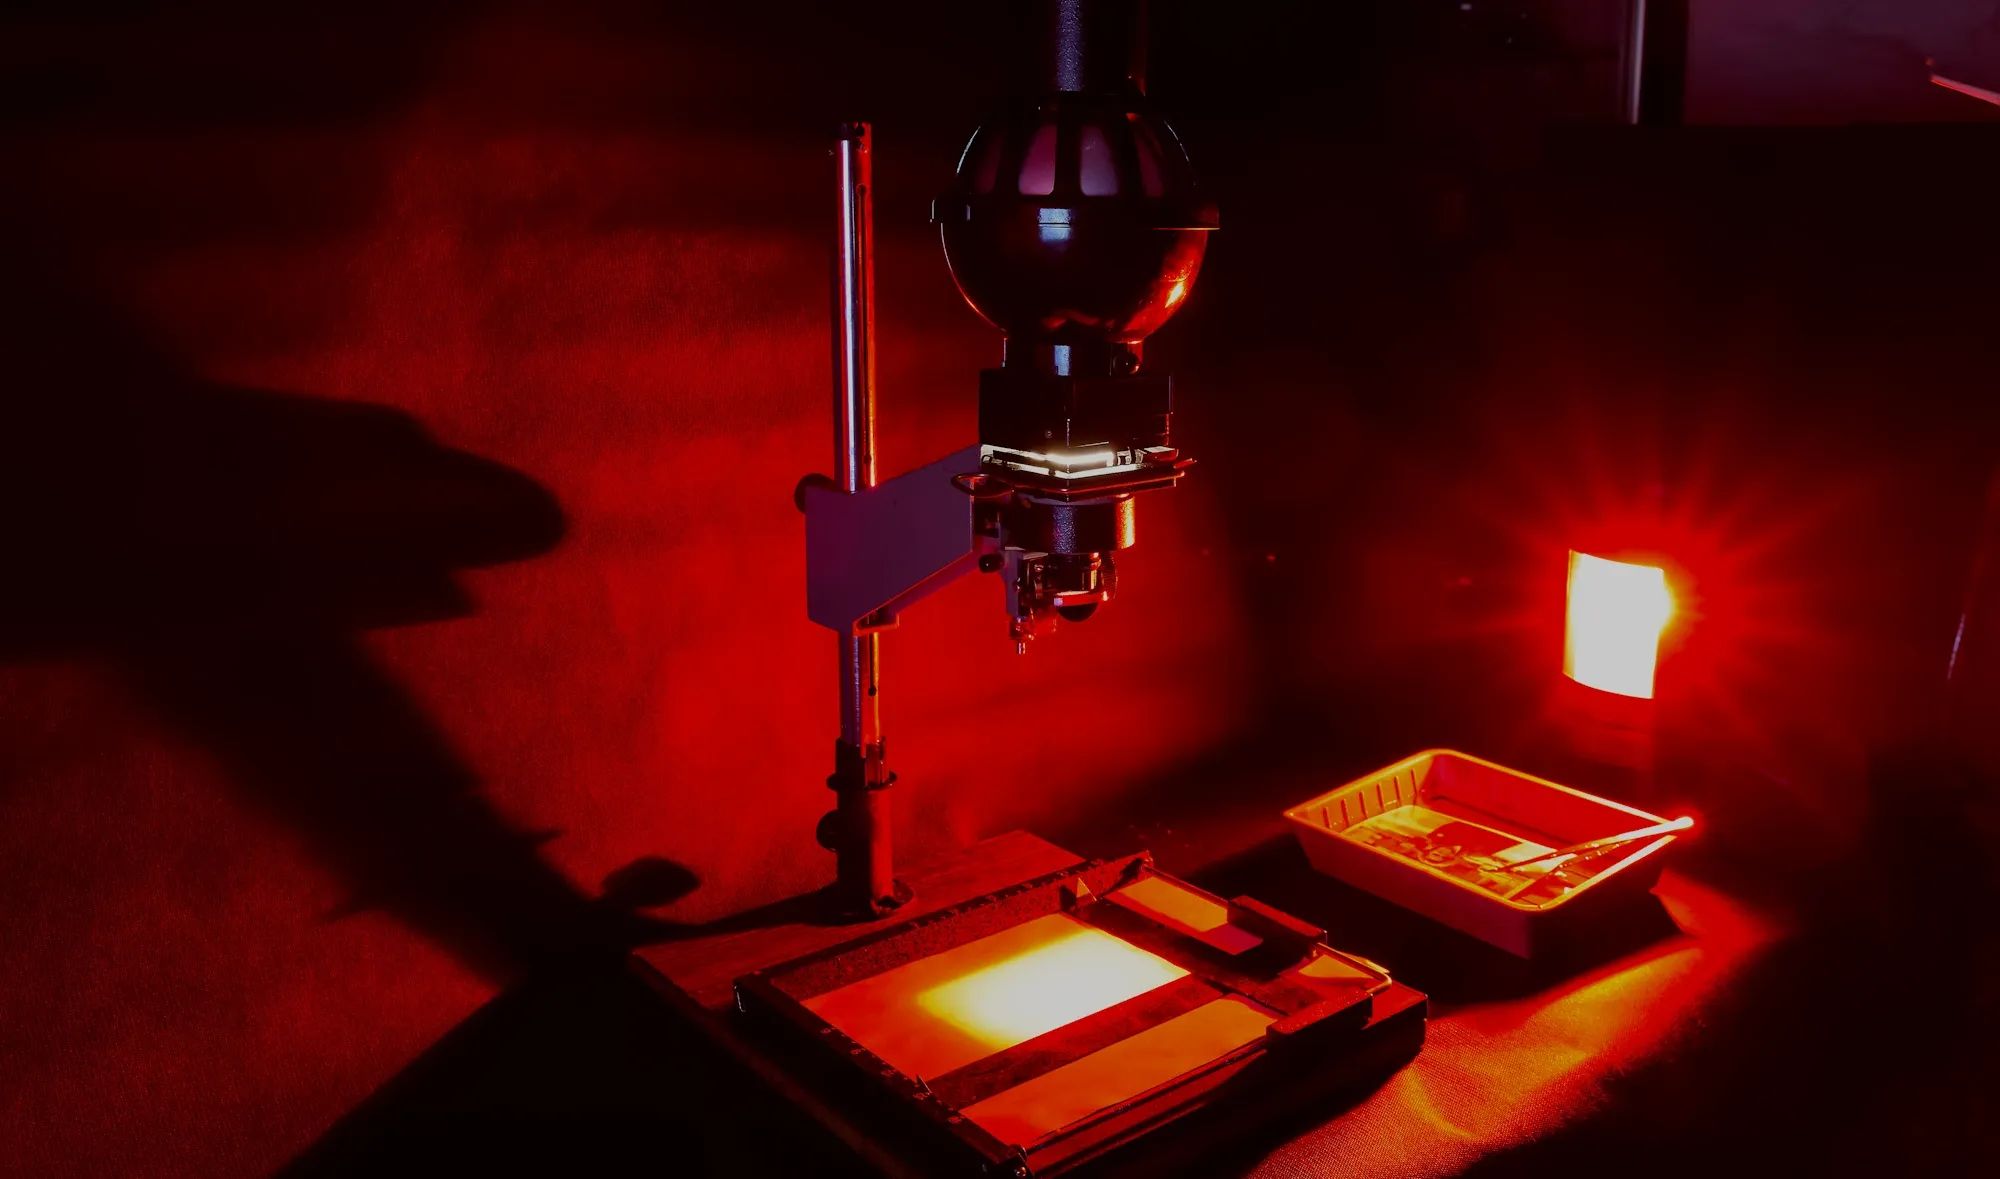
How to Build Your Home Darkroom Setup?
A working darkroom doesn't need a spare room built from scratch, it needs light control, ventilation and a sensible workflow. Most home setups fail not because of missing equipment but because of poor planning around light leaks, chemical handling and workspace layout. This guide covers what actually matters when converting a space into a functional darkroom for black and white printing.
Choosing a Space and Blocking Out Light
Any room without windows works better than a room with them, since blocking out natural light completely is non negotiable. Bathrooms, laundries and small spare rooms are the usual choices, mainly because they already have hard flooring and easy access to water. Check every gap around doors and vents, since even a thin line of light entering during an exposure will fog your prints.
Ventilation matters just as much as light control, particularly if you're working with trays of chemistry for more than a few minutes at a time. A small extractor fan or a door that can be cracked open between exposures is usually enough for a home setup, without compromising the darkness needed during actual printing.
Core Equipment for a Home Darkroom
Beyond an enlarger and negative carrier, most of what you need falls into supporting equipment rather than glamorous gear. Safelights, developing trays, tongs, a timer and a way to dry finished prints without dust contamination all matter more than people expect when they're starting out. A print washer or simple tray siphon setup also makes a real difference to wash times and final print longevity.
Getting the smaller equipment right the first time saves a lot of frustration later, since replacing a leaking tray or an inaccurate timer mid session interrupts your workflow badly. A dedicated range of darkroom accessories covers most of this supporting gear in one place, rather than piecing it together from general hardware stores.
Handling Chemistry Safely at Home
Developer, stop bath and fixer each need their own dedicated tray, and cross contamination between them is one of the most common causes of ruined prints for beginners. Mix chemistry at the temperature your paper and film manufacturer specifies, since temperature swings affect development time more than most people account for on their first few sessions. Label every container clearly, and never store chemistry near food, drinking water or anything a child or pet could access.
Disposal matters too. Small home volumes of spent fixer and developer generally go down the drain in most Australian councils, but it's worth checking local regulations rather than assuming, since rules vary between states and even between councils.
Choosing Your Printing Paper
Paper choice affects the final look of a print as much as your exposure and development technique. For darkroom printing specifically, browsing the range of black and white darkroom paper is the starting point, since inkjet papers used for digital printing aren't compatible with wet darkroom chemistry.
Pearl Finish
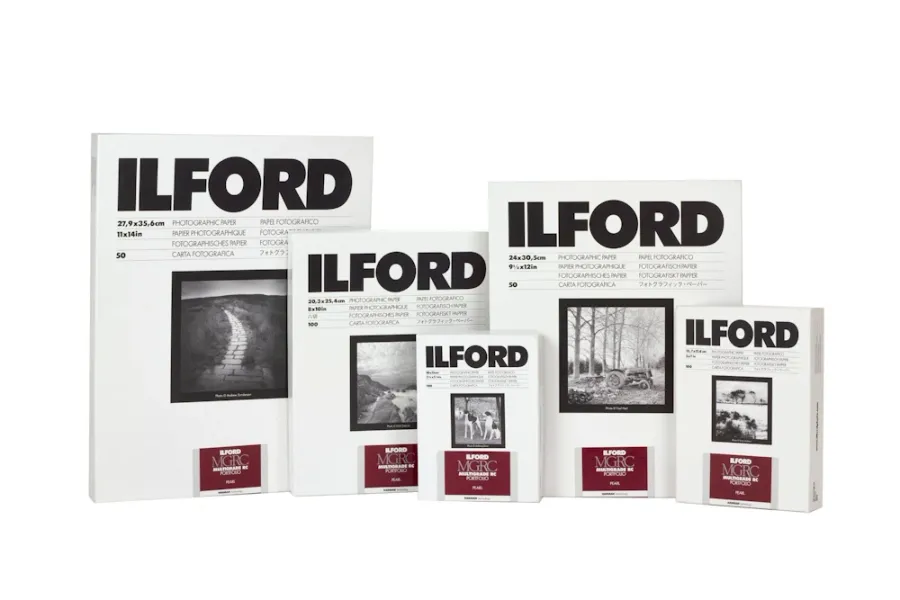
Ilford Multigrade Deluxe Pearl Paper gives a subtle sheen without the strong reflections of a full gloss finish. It's a solid general purpose choice for portfolio prints where you want detail and contrast without the paper competing with the image for attention.
Satin Finish
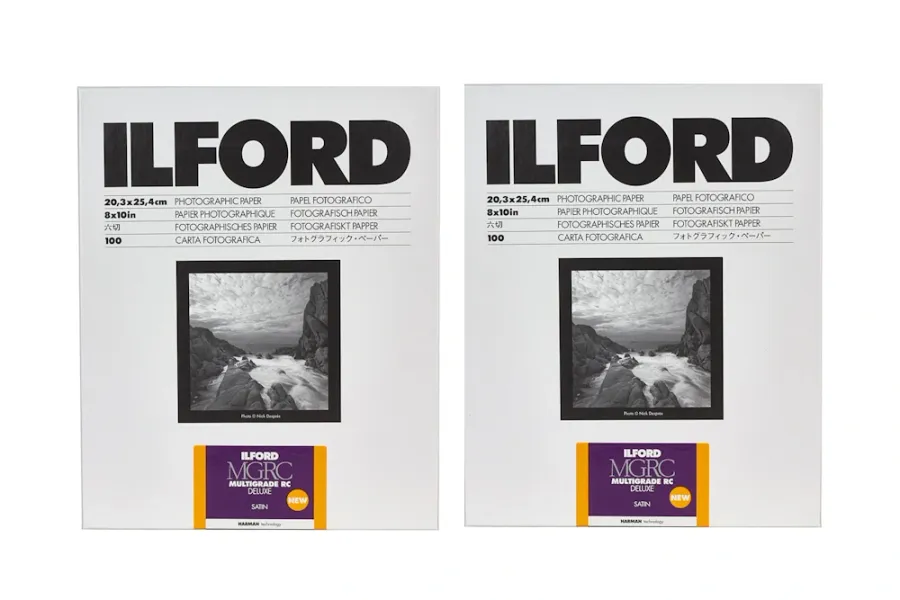
Ilford Multigrade Deluxe Satin Paper sits between matte and gloss, and handles fingerprints and handling marks better than a high gloss surface. It suits prints that will be viewed under mixed lighting, where a fully glossy finish can create distracting glare.
If your workflow also involves digital output, keep in mind that Inkjet Photo Paper is a completely separate product category built for pigment or dye based printers, not for wet chemical development.
Gloss Finish
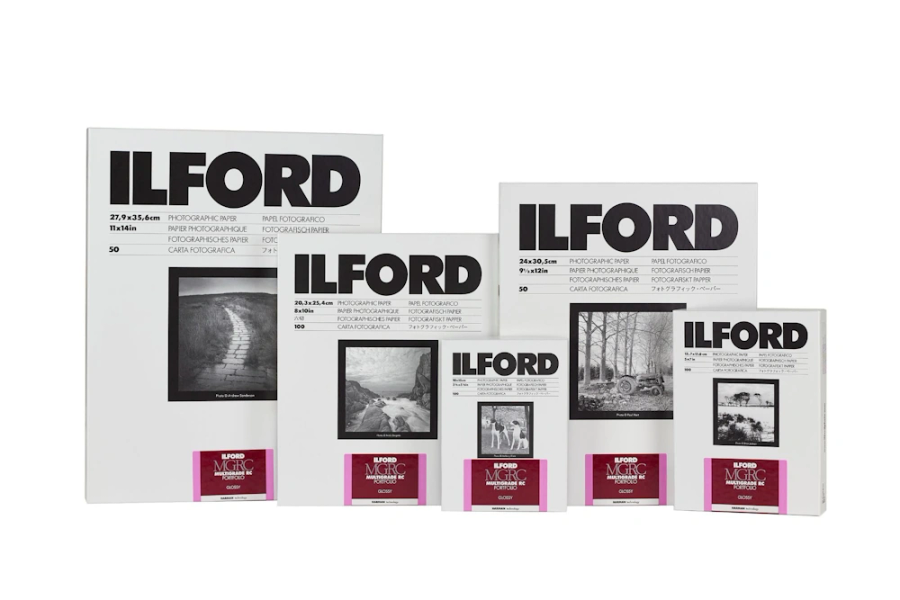
The gloss finish of Ilford Multigrade photographic papers is ideal for professional printers seeking rich blacks, bright highlights, and sharp image detail. Its smooth, reflective surface enhances tonal depth and gives finished prints a clean, high-contrast appearance.
Common Beginner Mistakes to Avoid
Most early darkroom problems trace back to a handful of repeated issues rather than genuinely difficult technique.
Fogged prints from light leaks around doors, vents or an ill fitting safelight filter.
Uneven development from chemistry that's too cold or mixed at the wrong dilution.
Streaked or marked prints from reused stop bath or fixer well past its capacity.
Wasted paper from skipping test strips before committing to a full sheet exposure.
Find Darkroom Supplies at C.R. Kennedy
Setting up a home darkroom is far easier with the right supplies on hand from the start. C.R. Kennedy's darkroom range covers papers, chemistry and accessories for both beginners and returning film printers building a home setup.
