
Beginners Guide to Macro Photography
Updated On: 06/07/2026
I’ve always found that the most interesting photos are ones of things you normally never see in everyday life, and what better way to capture those unique shots than through close up macro photography. Today let’s cover the basics to get you started on your macro journey.
The Rundown:
- Get in close
- Specialised lenses and accessories
- Advice and technique
Macro photography is a simple concept in general. It’s all about getting in close and taking ‘zoomed in’ shots of small subjects. There are a couple of ways to achieve this, with affordable accessories good for dipping your toes, all the way up to some truly unique lenses that will get seemingly impossible shots.
Getting started
Let's start with the two accessories that can get you started. Extension tubes, and macro adapters, and then move onto macro lenses.
Extension tubes
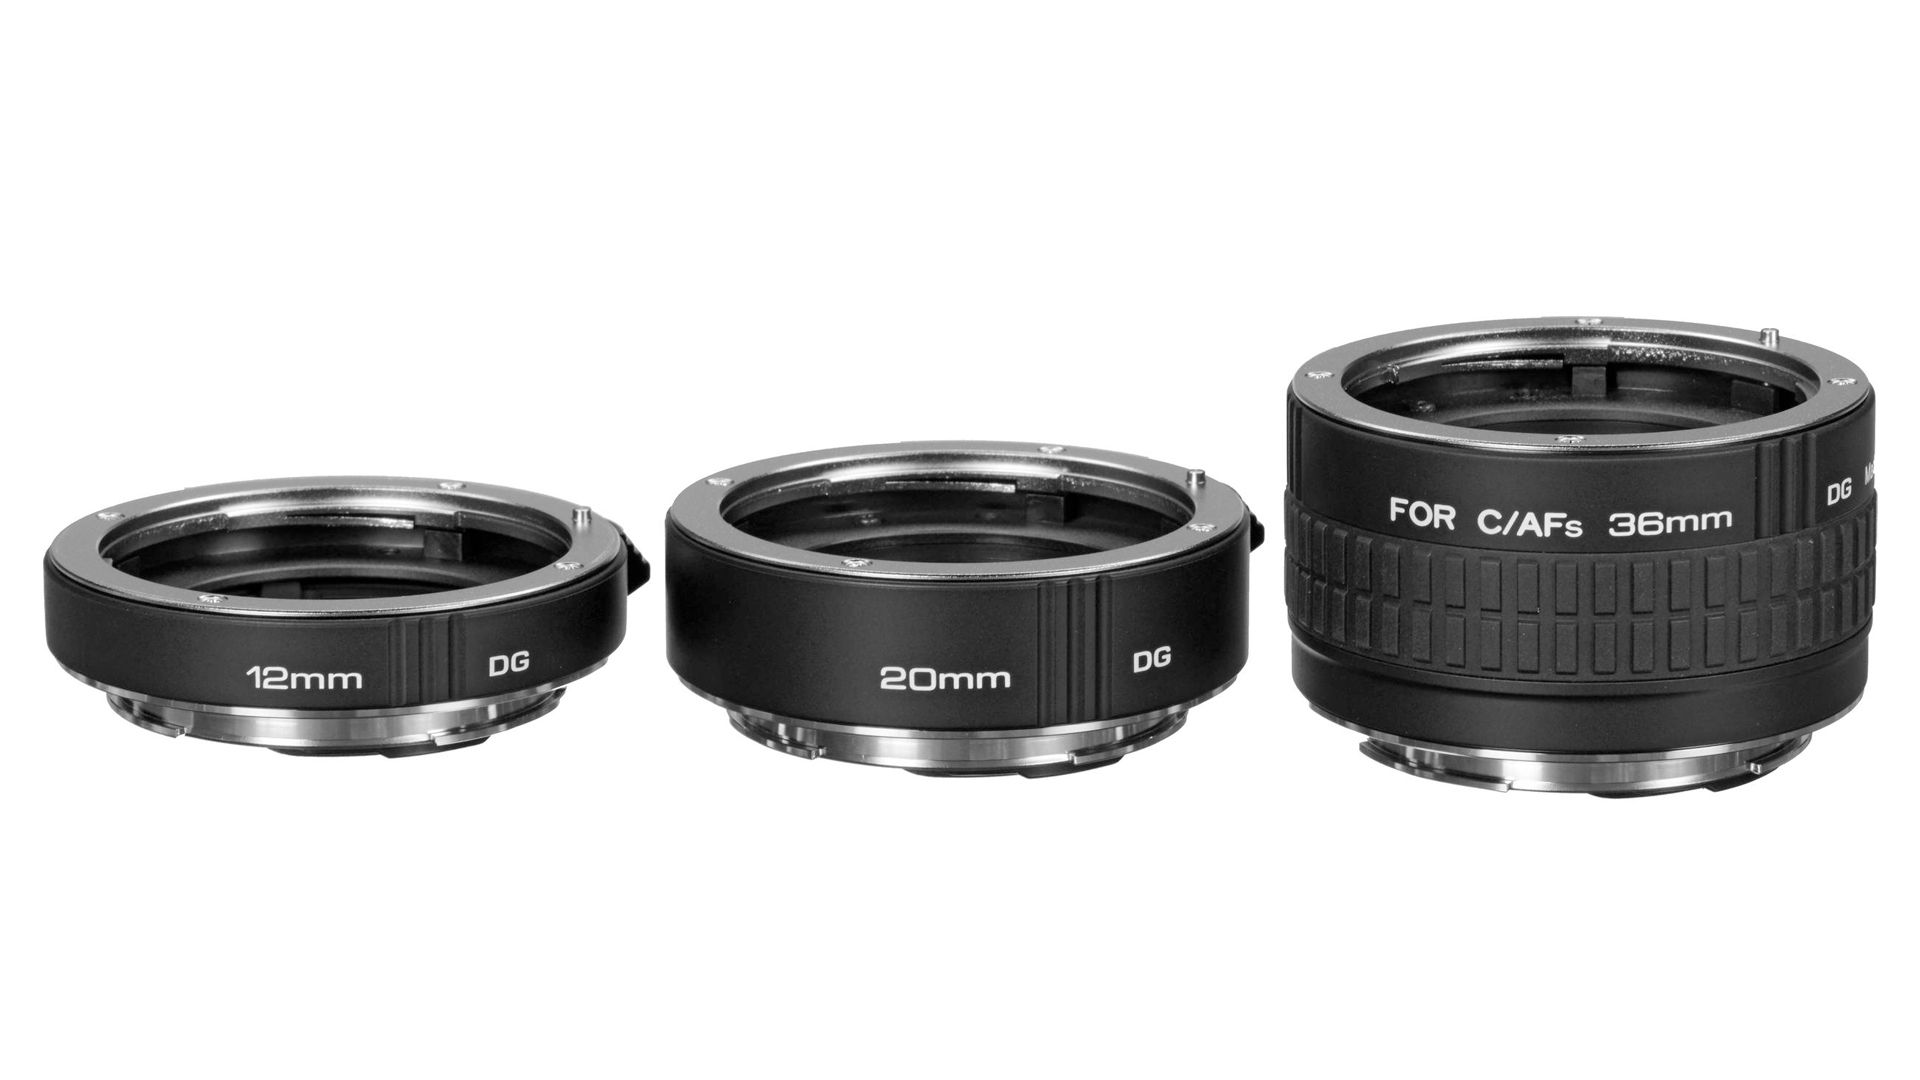
Extension Tubes are probably the most straightforward way to get into macro photography. They essentially change the minimum focusing distance of the attached lens, allowing you to get closer than by using the lens alone. They’re great because they’ll transform your existing lens into a macro capable one.
There are some caveats though! While you can get some cheap extension tubes, they generally don’t have lens contacts which allow the camera to control the lens’ aperture and autofocus motor. You can shell out for a more expensive option that allows for the camera and lens to talk to each other, but it’s something to consider. If you’re going to go the contactless route, make sure you have a lens that allows for manual focusing and aperture control.
Macro Adapters
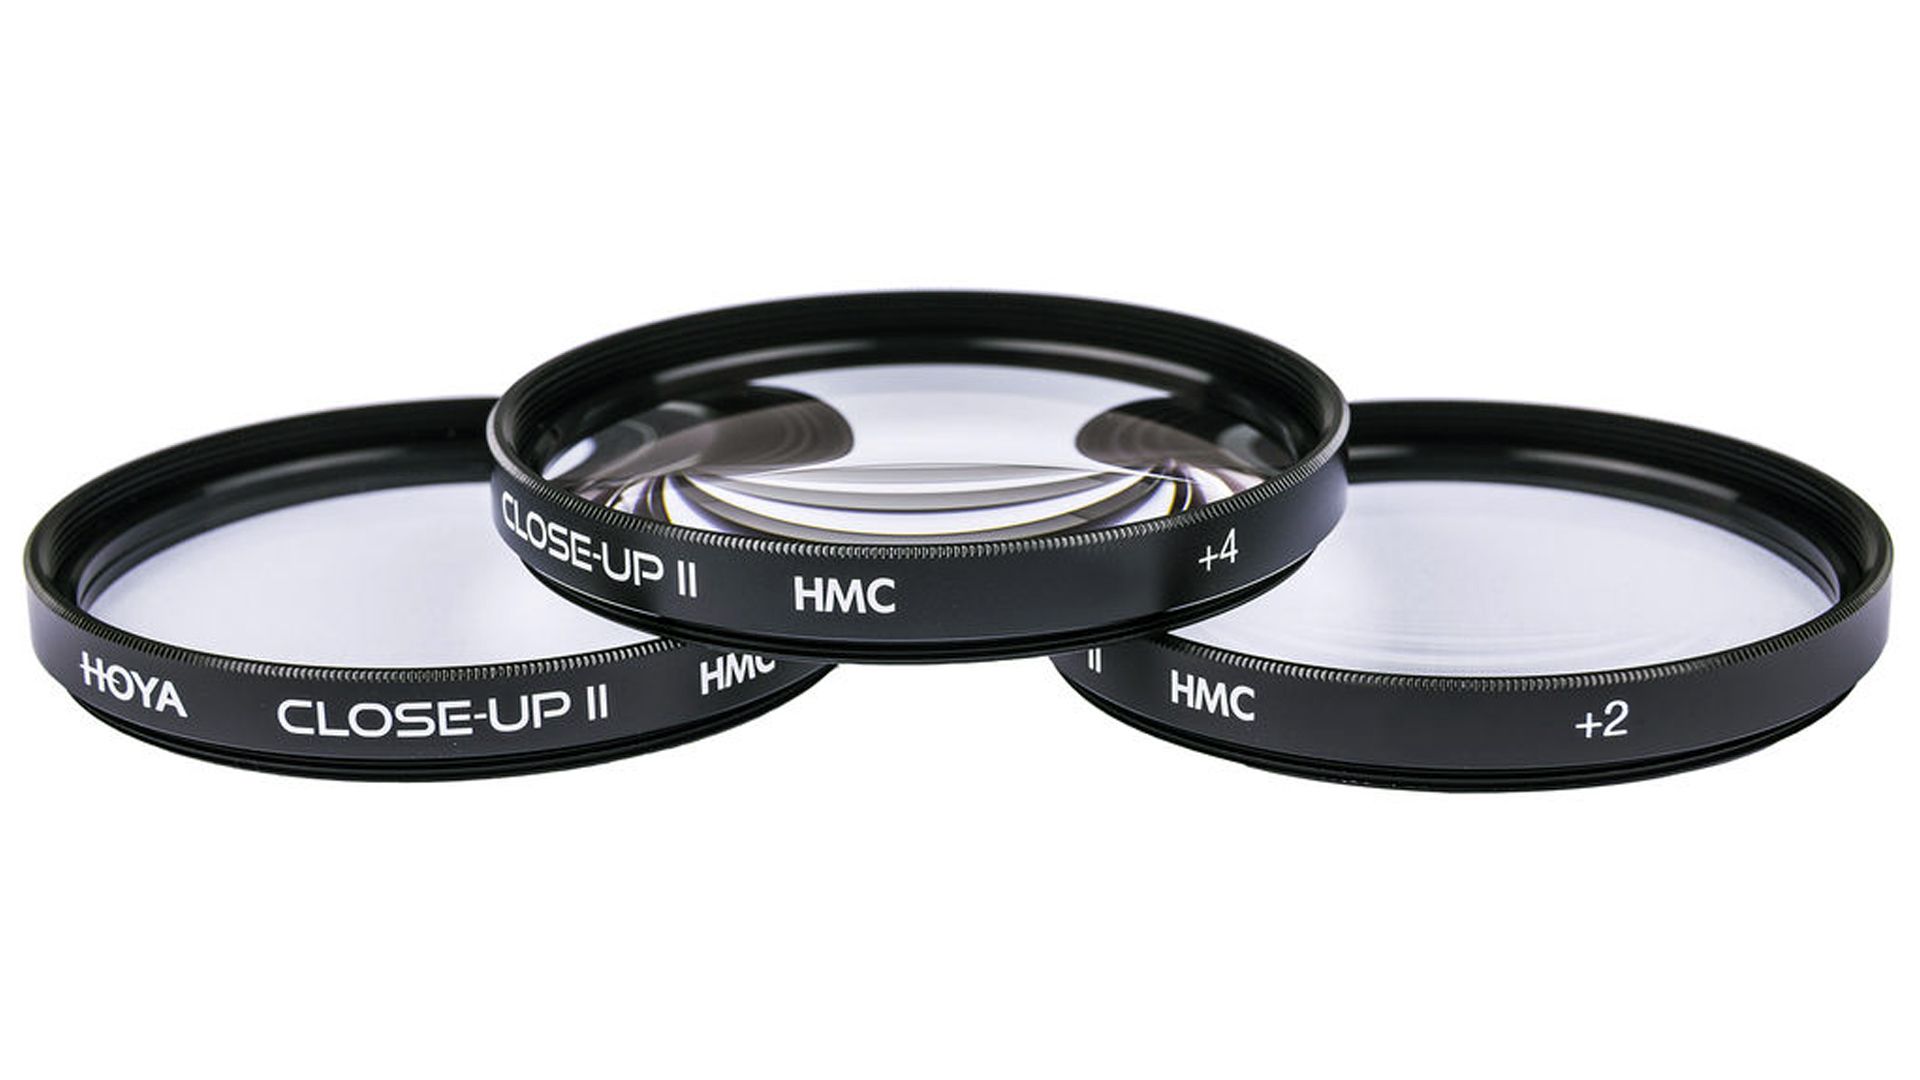
Macro (or ‘close up’) adapters are another introductory option. They’re kind of like putting a magnifying lens in front of your lens, and usually come in a set of screw-on filters that allow for closer focusing. Another good option for people with existing lenses and, as a bonus, close up adapters will all let you use the autofocus and aperture control of your lens.
Caveats are also present here. Image quality and sharpness can definitely suffer the more glass elements you put between the camera sensor and the subject, and it’s unfortunately unavoidable with close up filters.
Macro lenses

This is my preferred option for macro photography. I’ve had the pleasure of using the Tokina FiRIN 100mm f/2.8 FE Macro Lens and Sigma 105mm f/2.8 DG DN Macro Art Lens and they’re simply an amazing choice for macro photography. The main benefits of specialised lenses like these are that they’re designed with macro photography in mind and offer features like close focusing, smooth and precise focus control, telephoto focal lengths, and often additional features like focus limiting to make operating the lens easier.
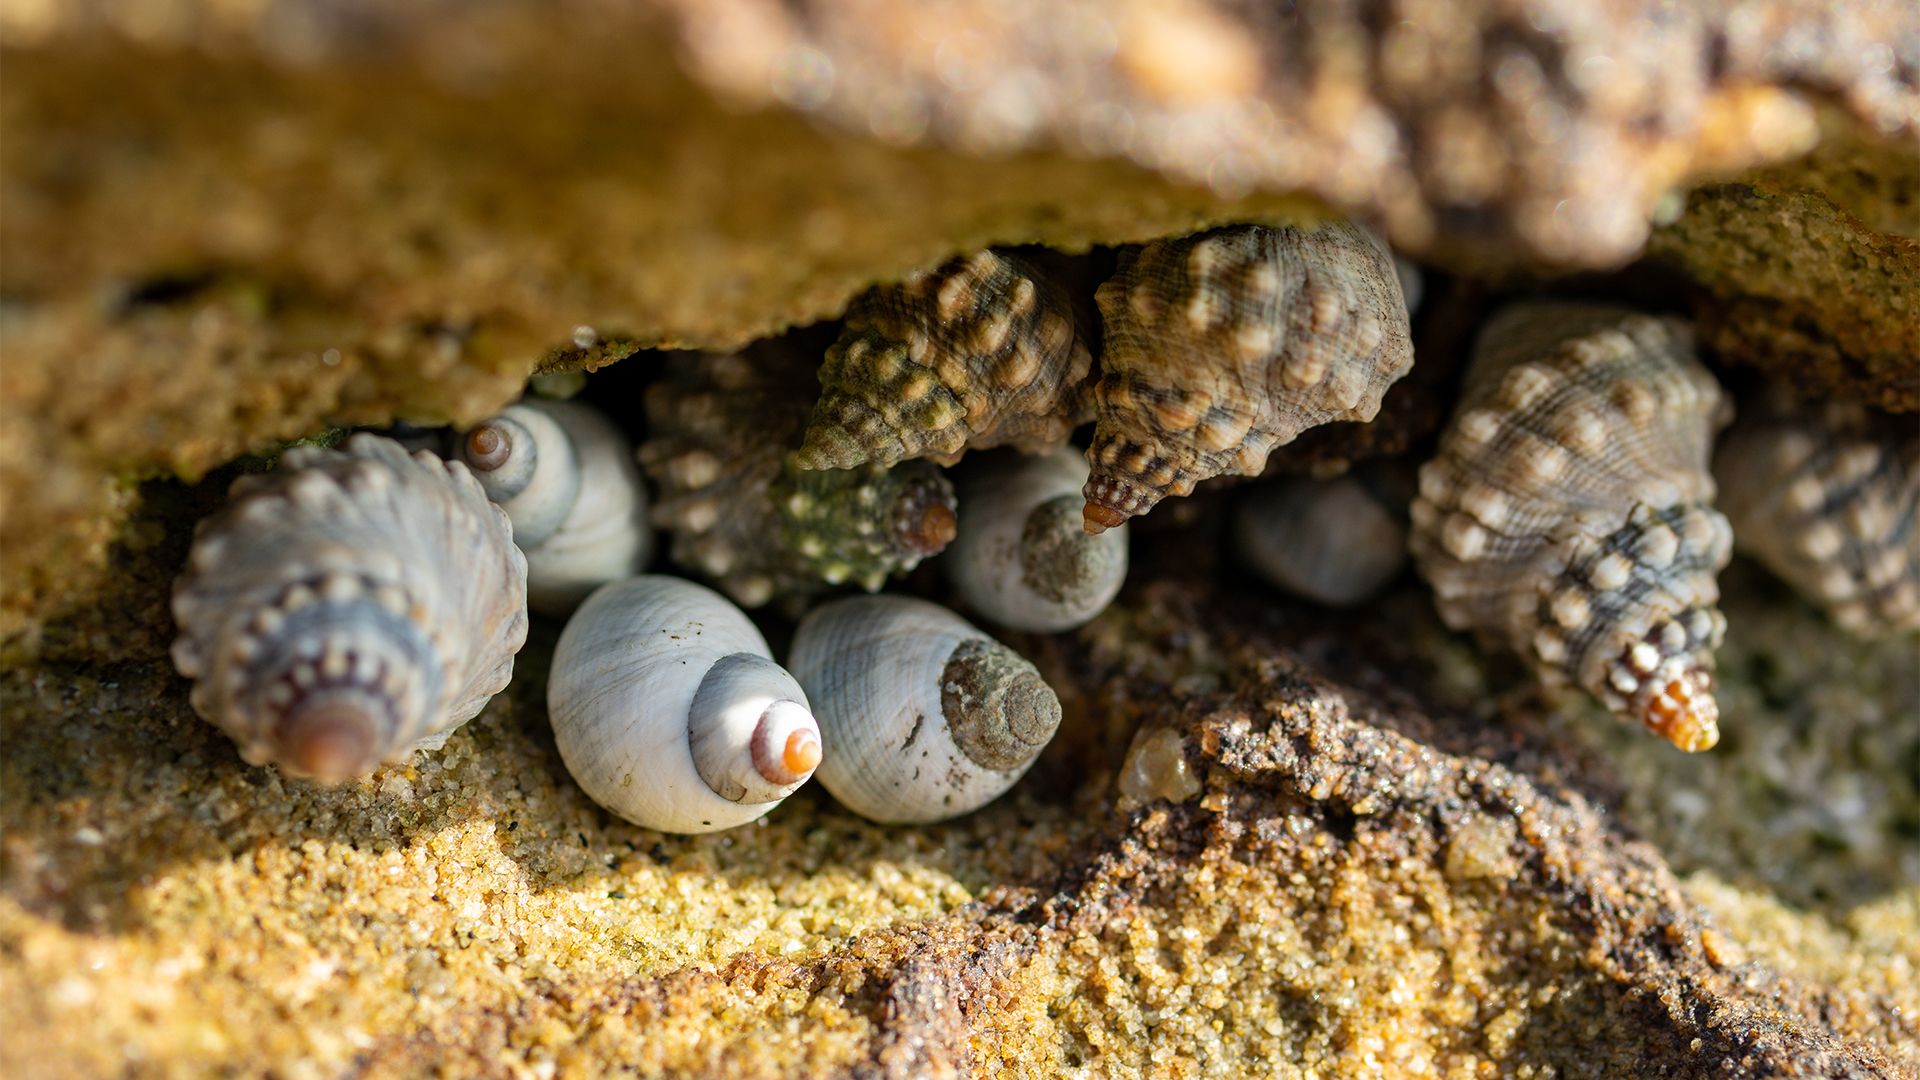
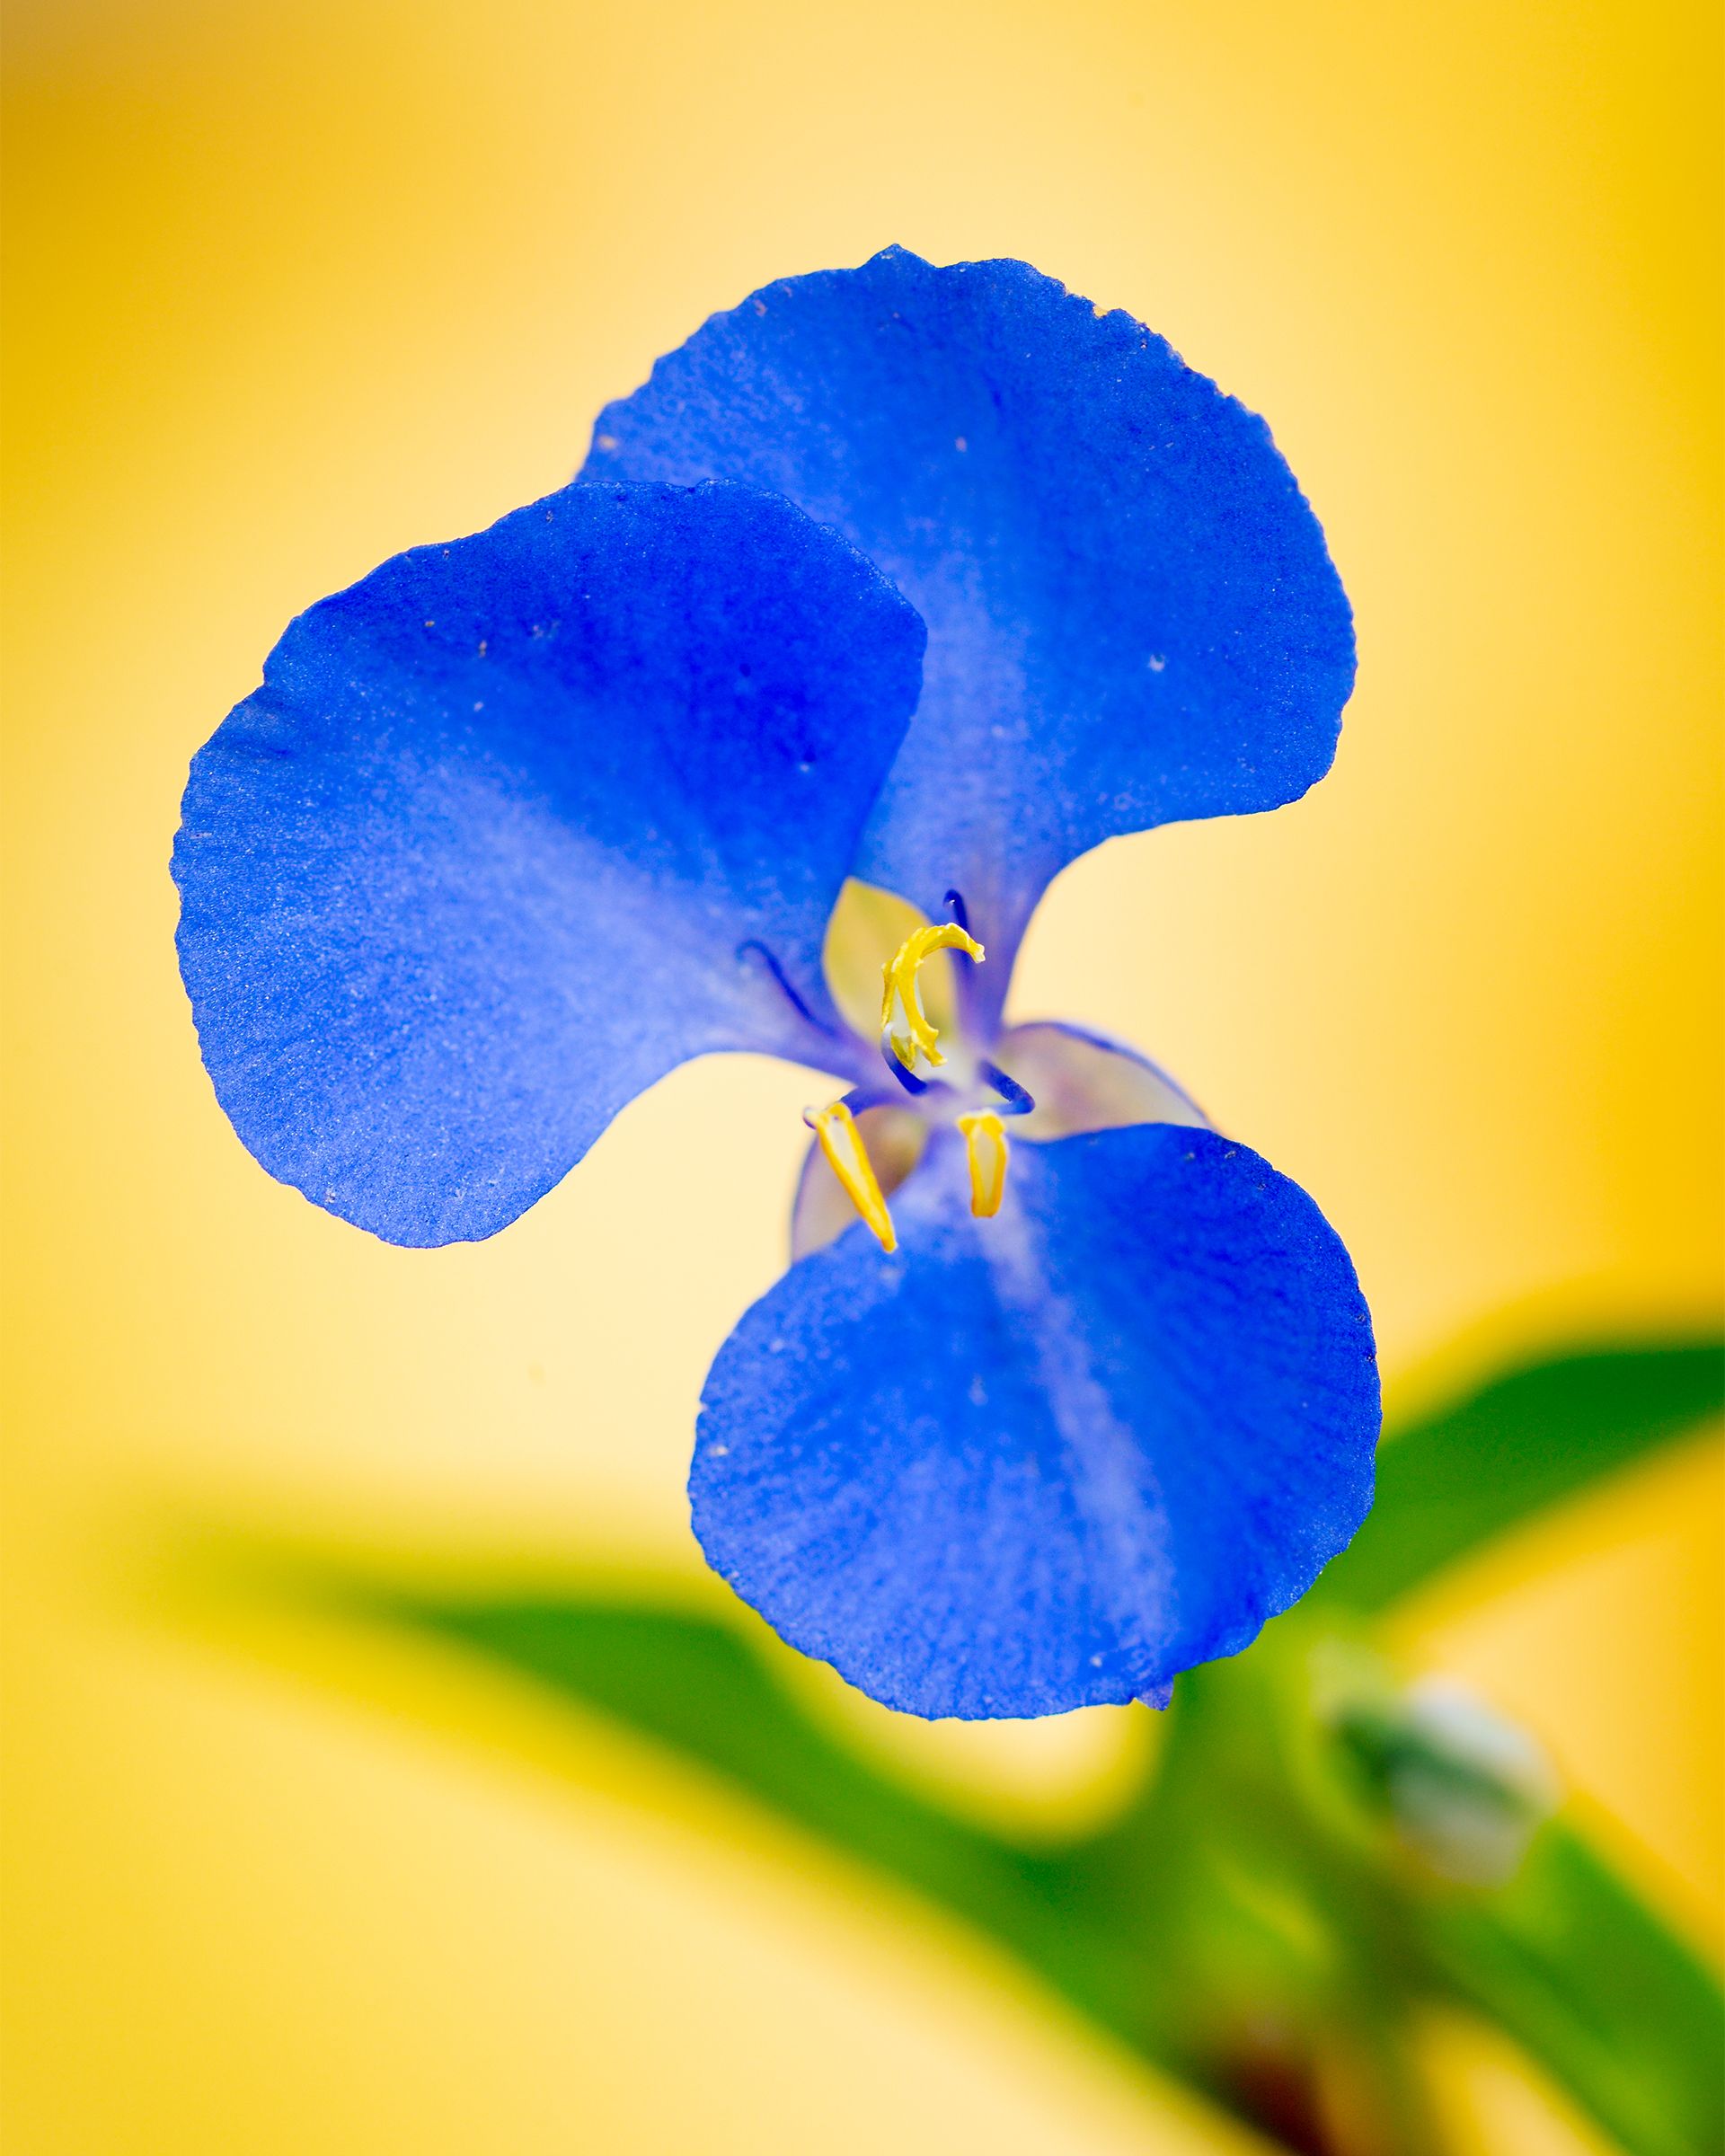
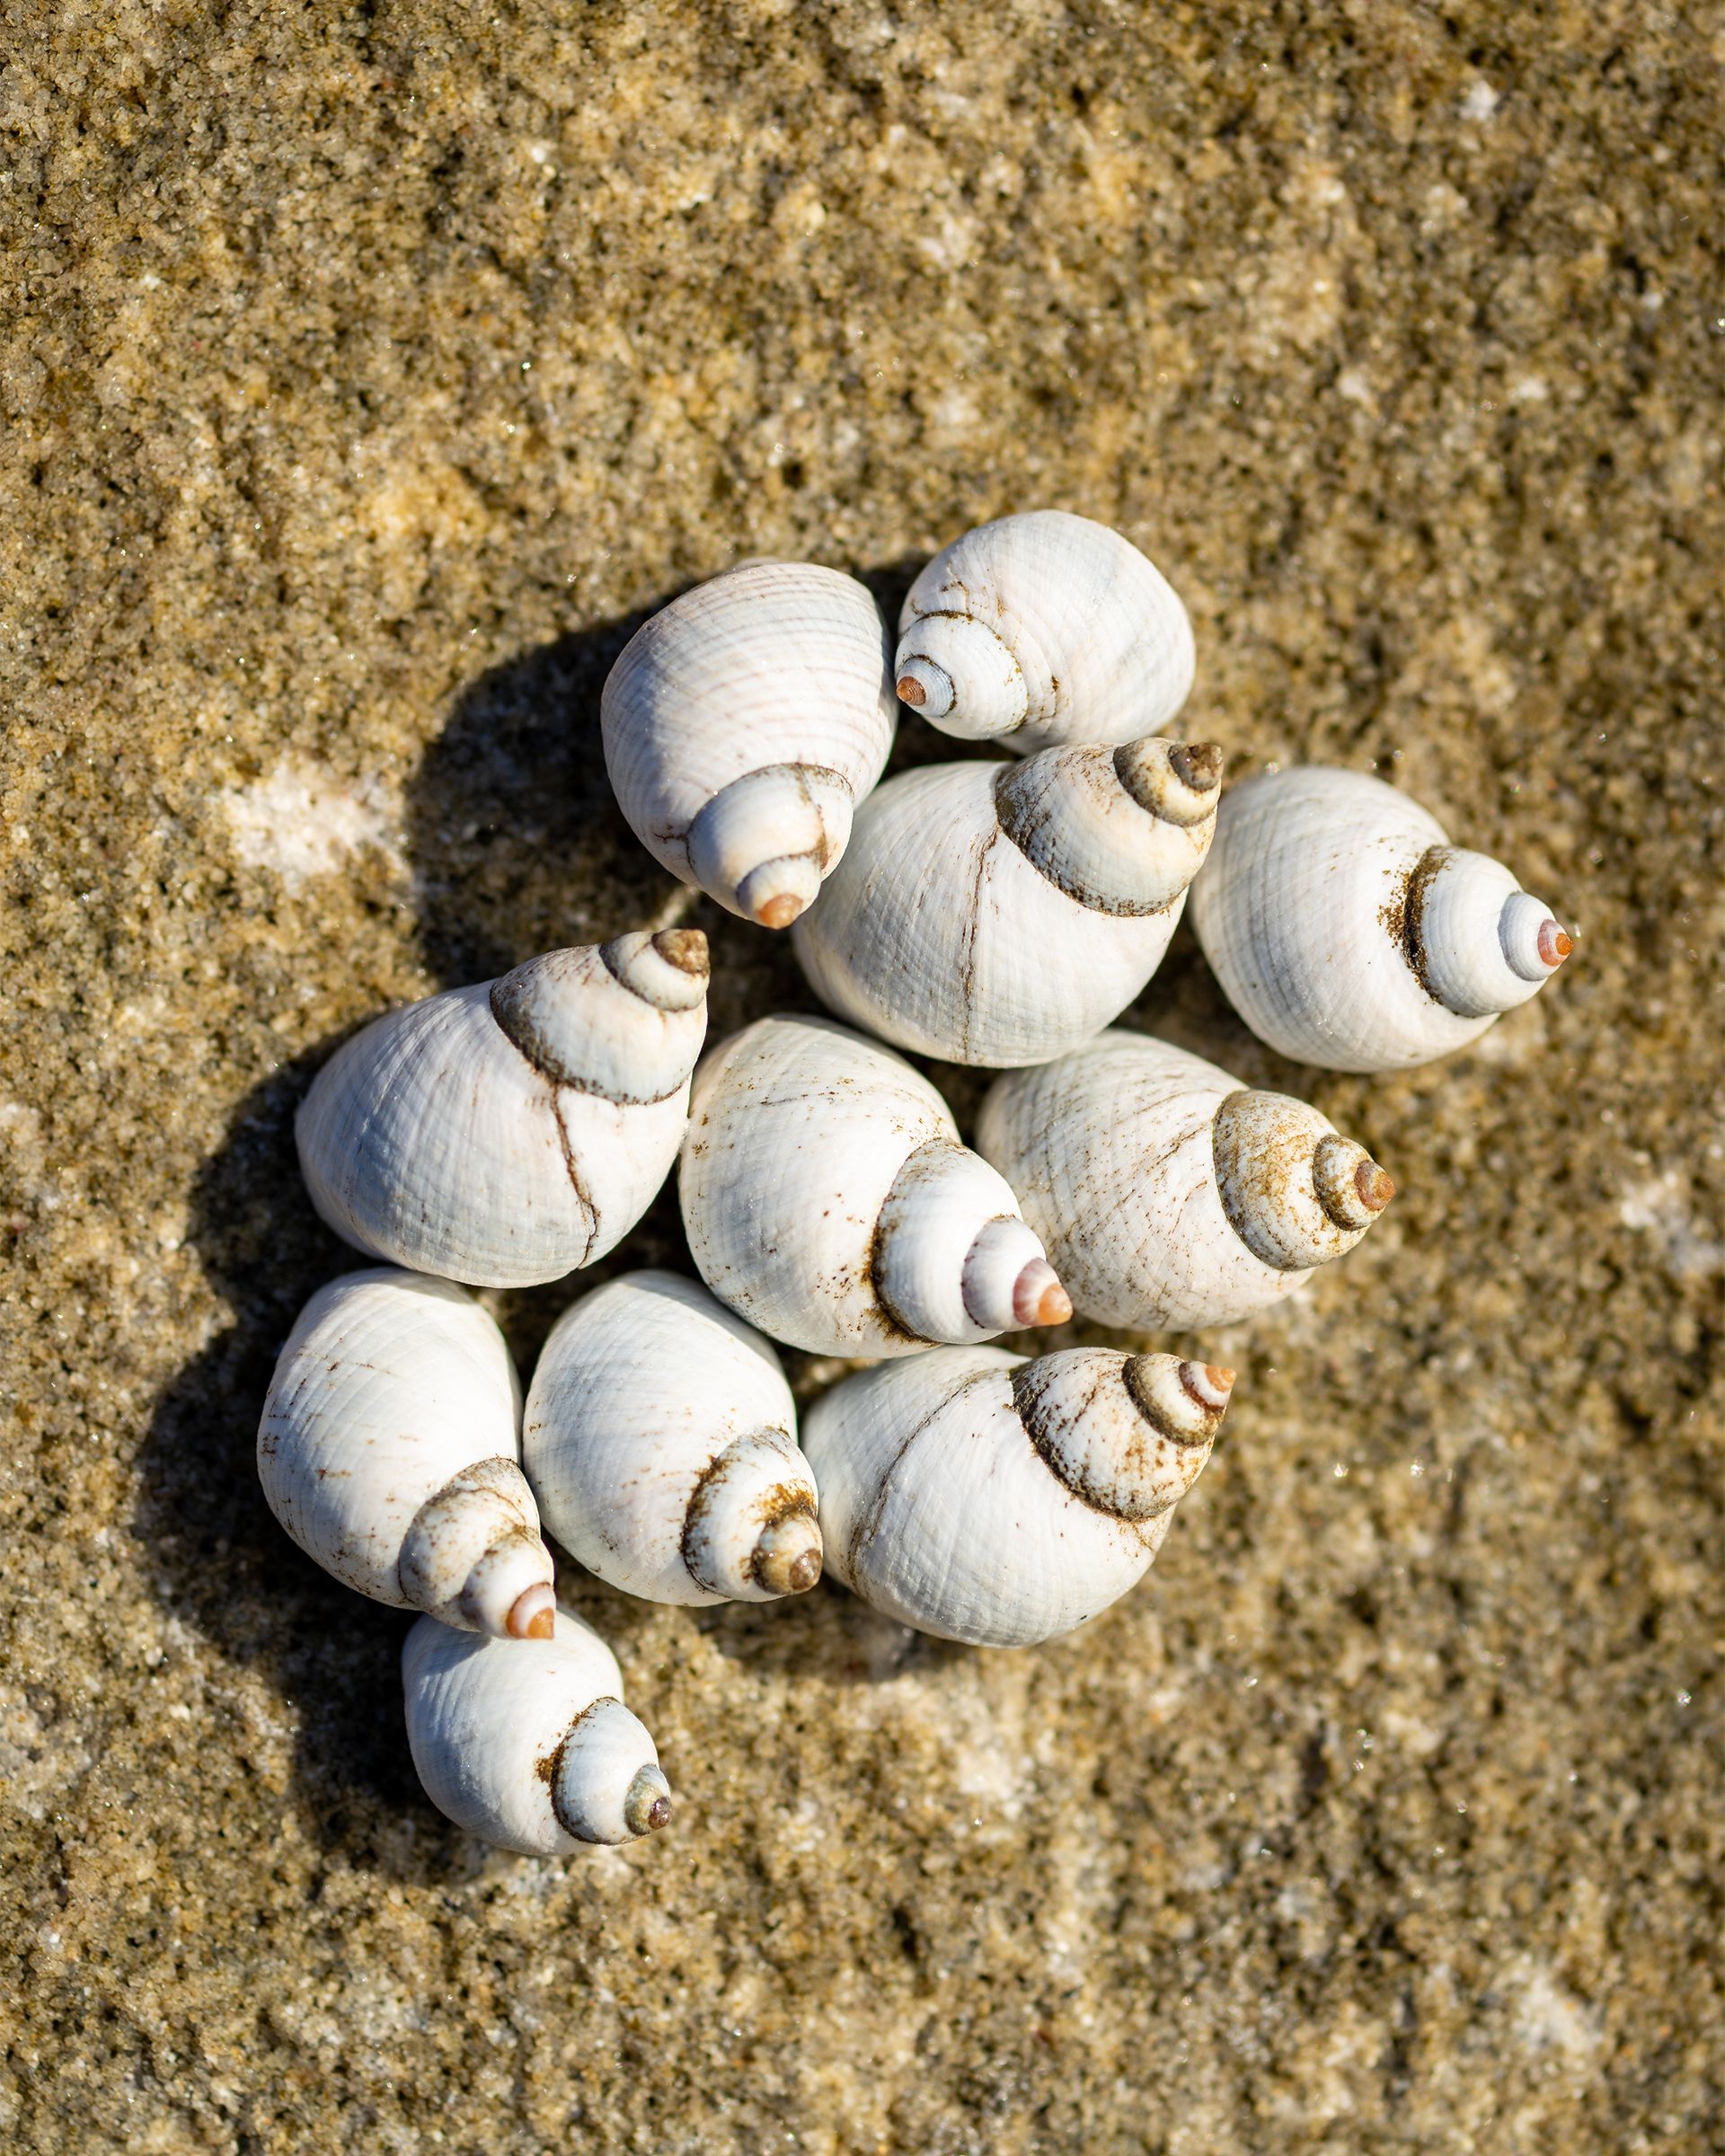
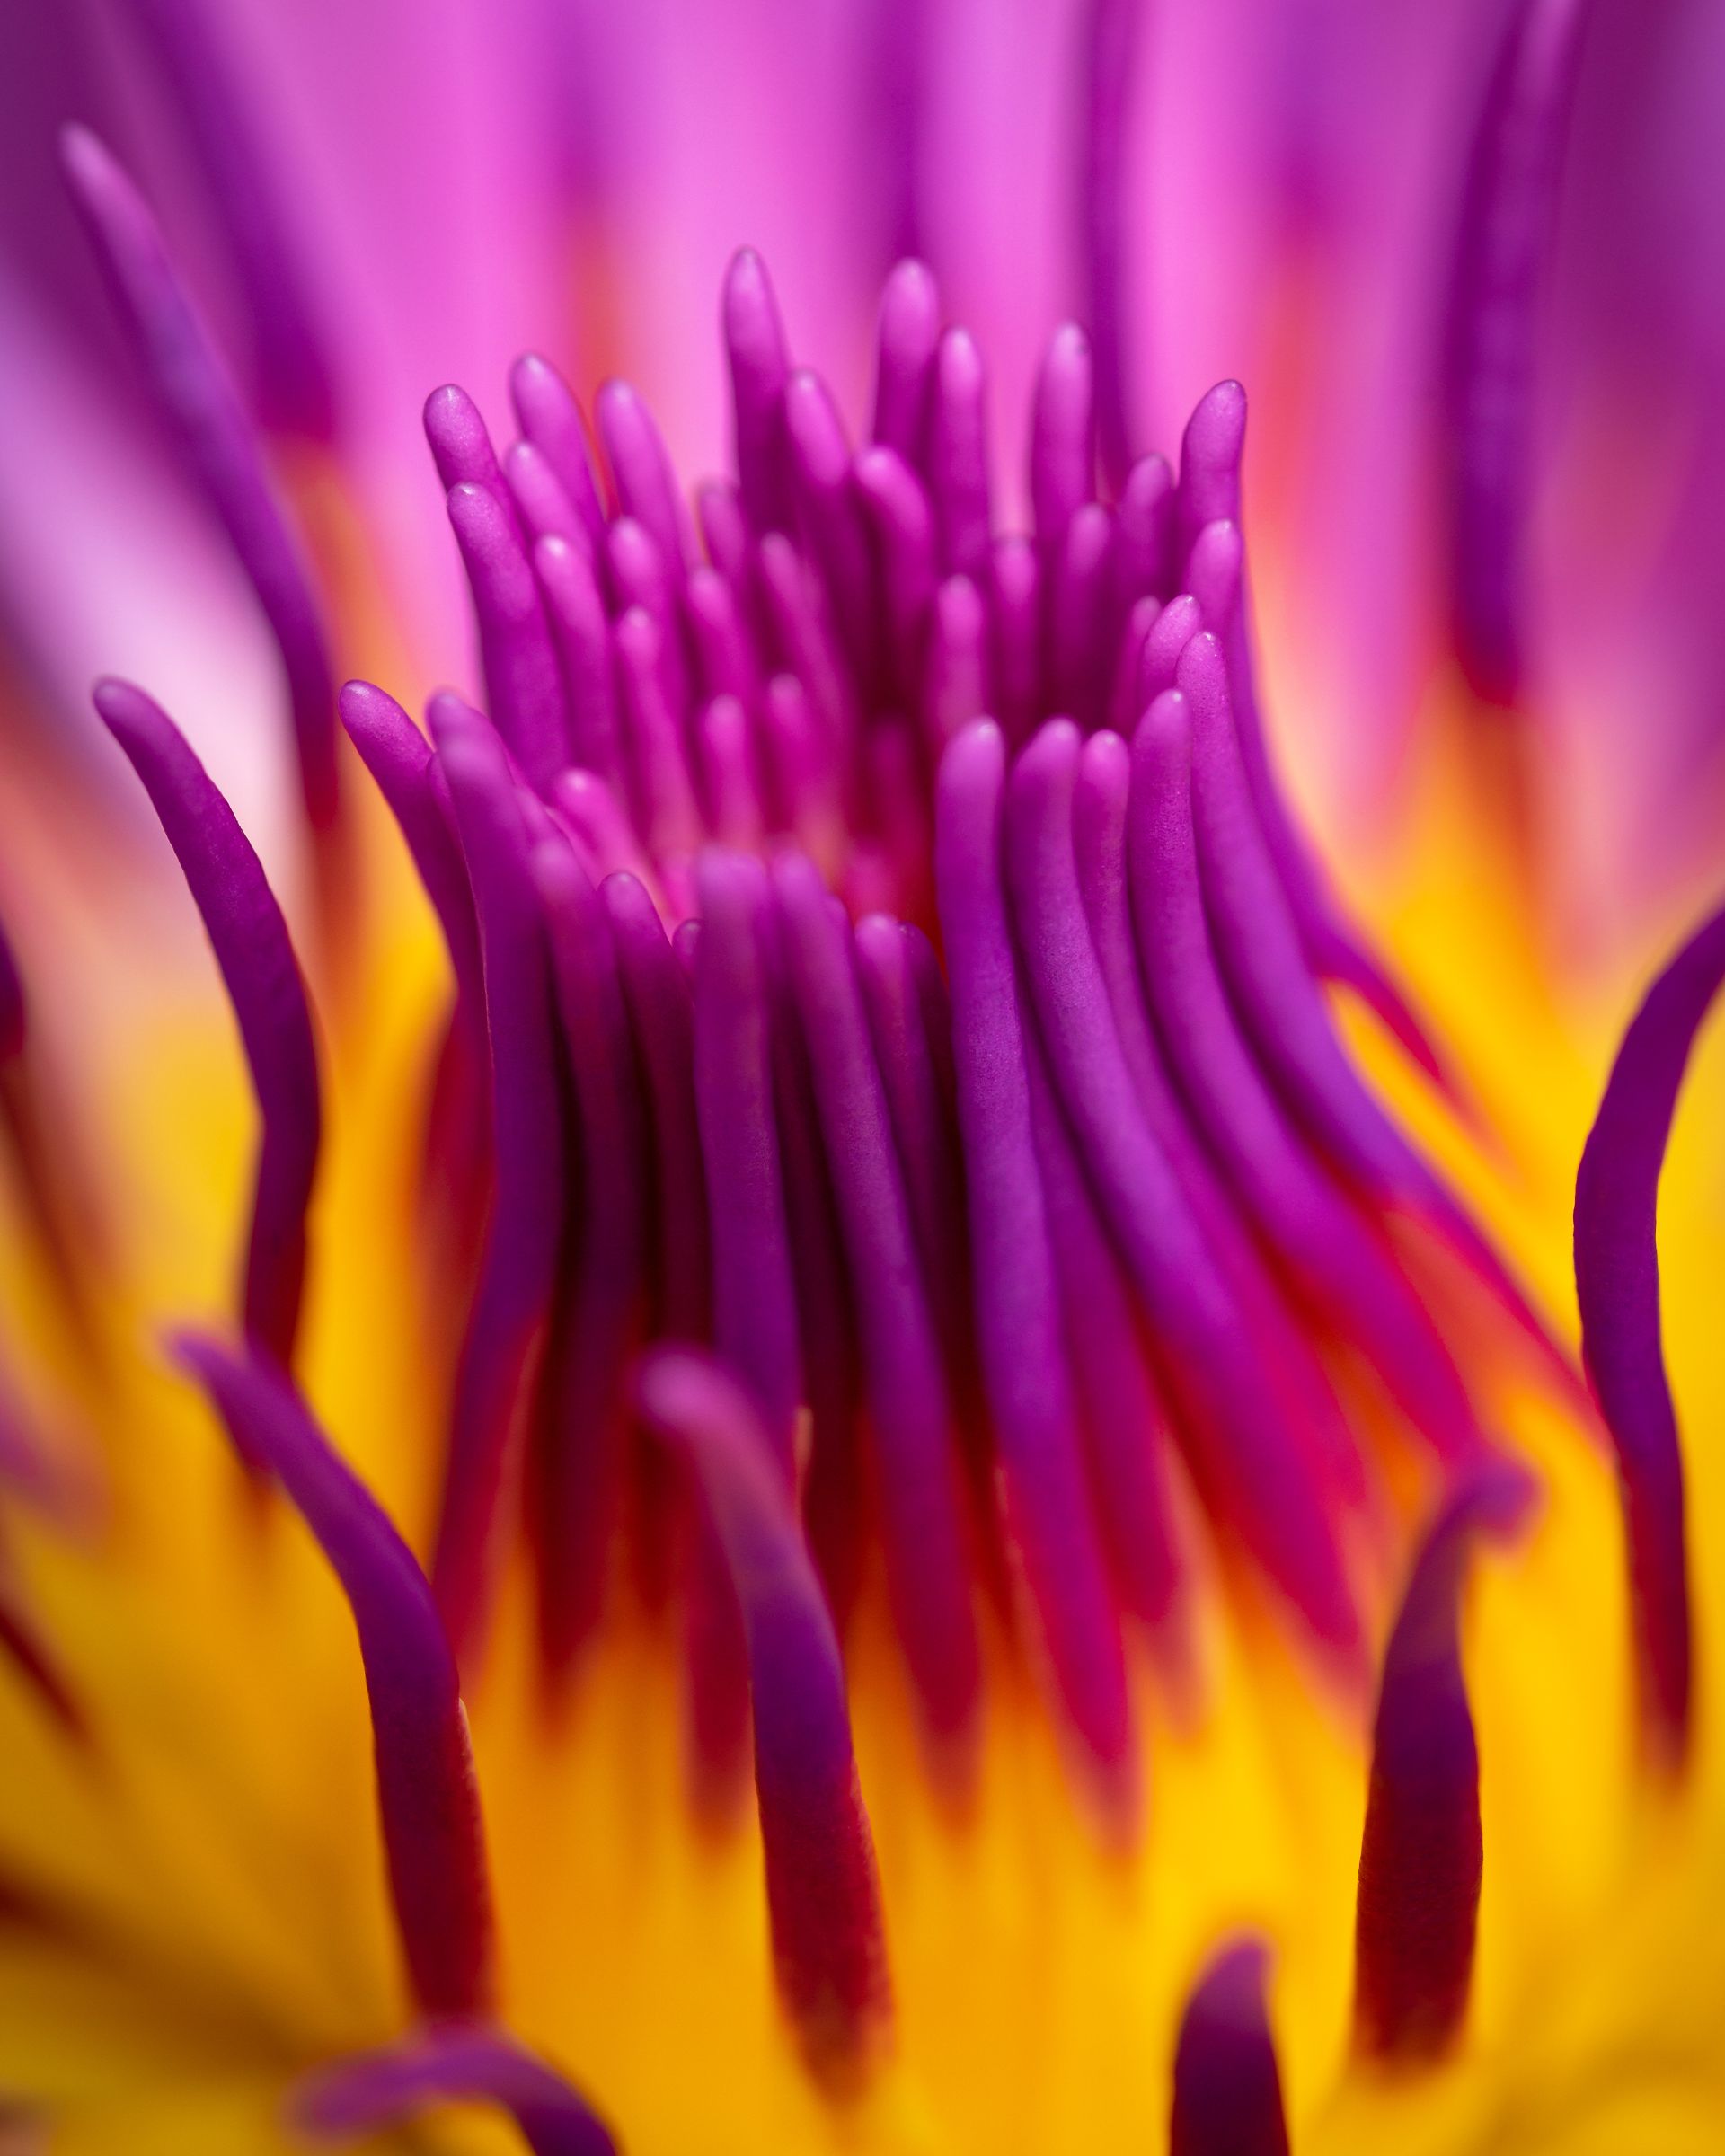
The sample shots featured in this article were taken with the Tokina 100mm f/2.8.
Shooting Macro
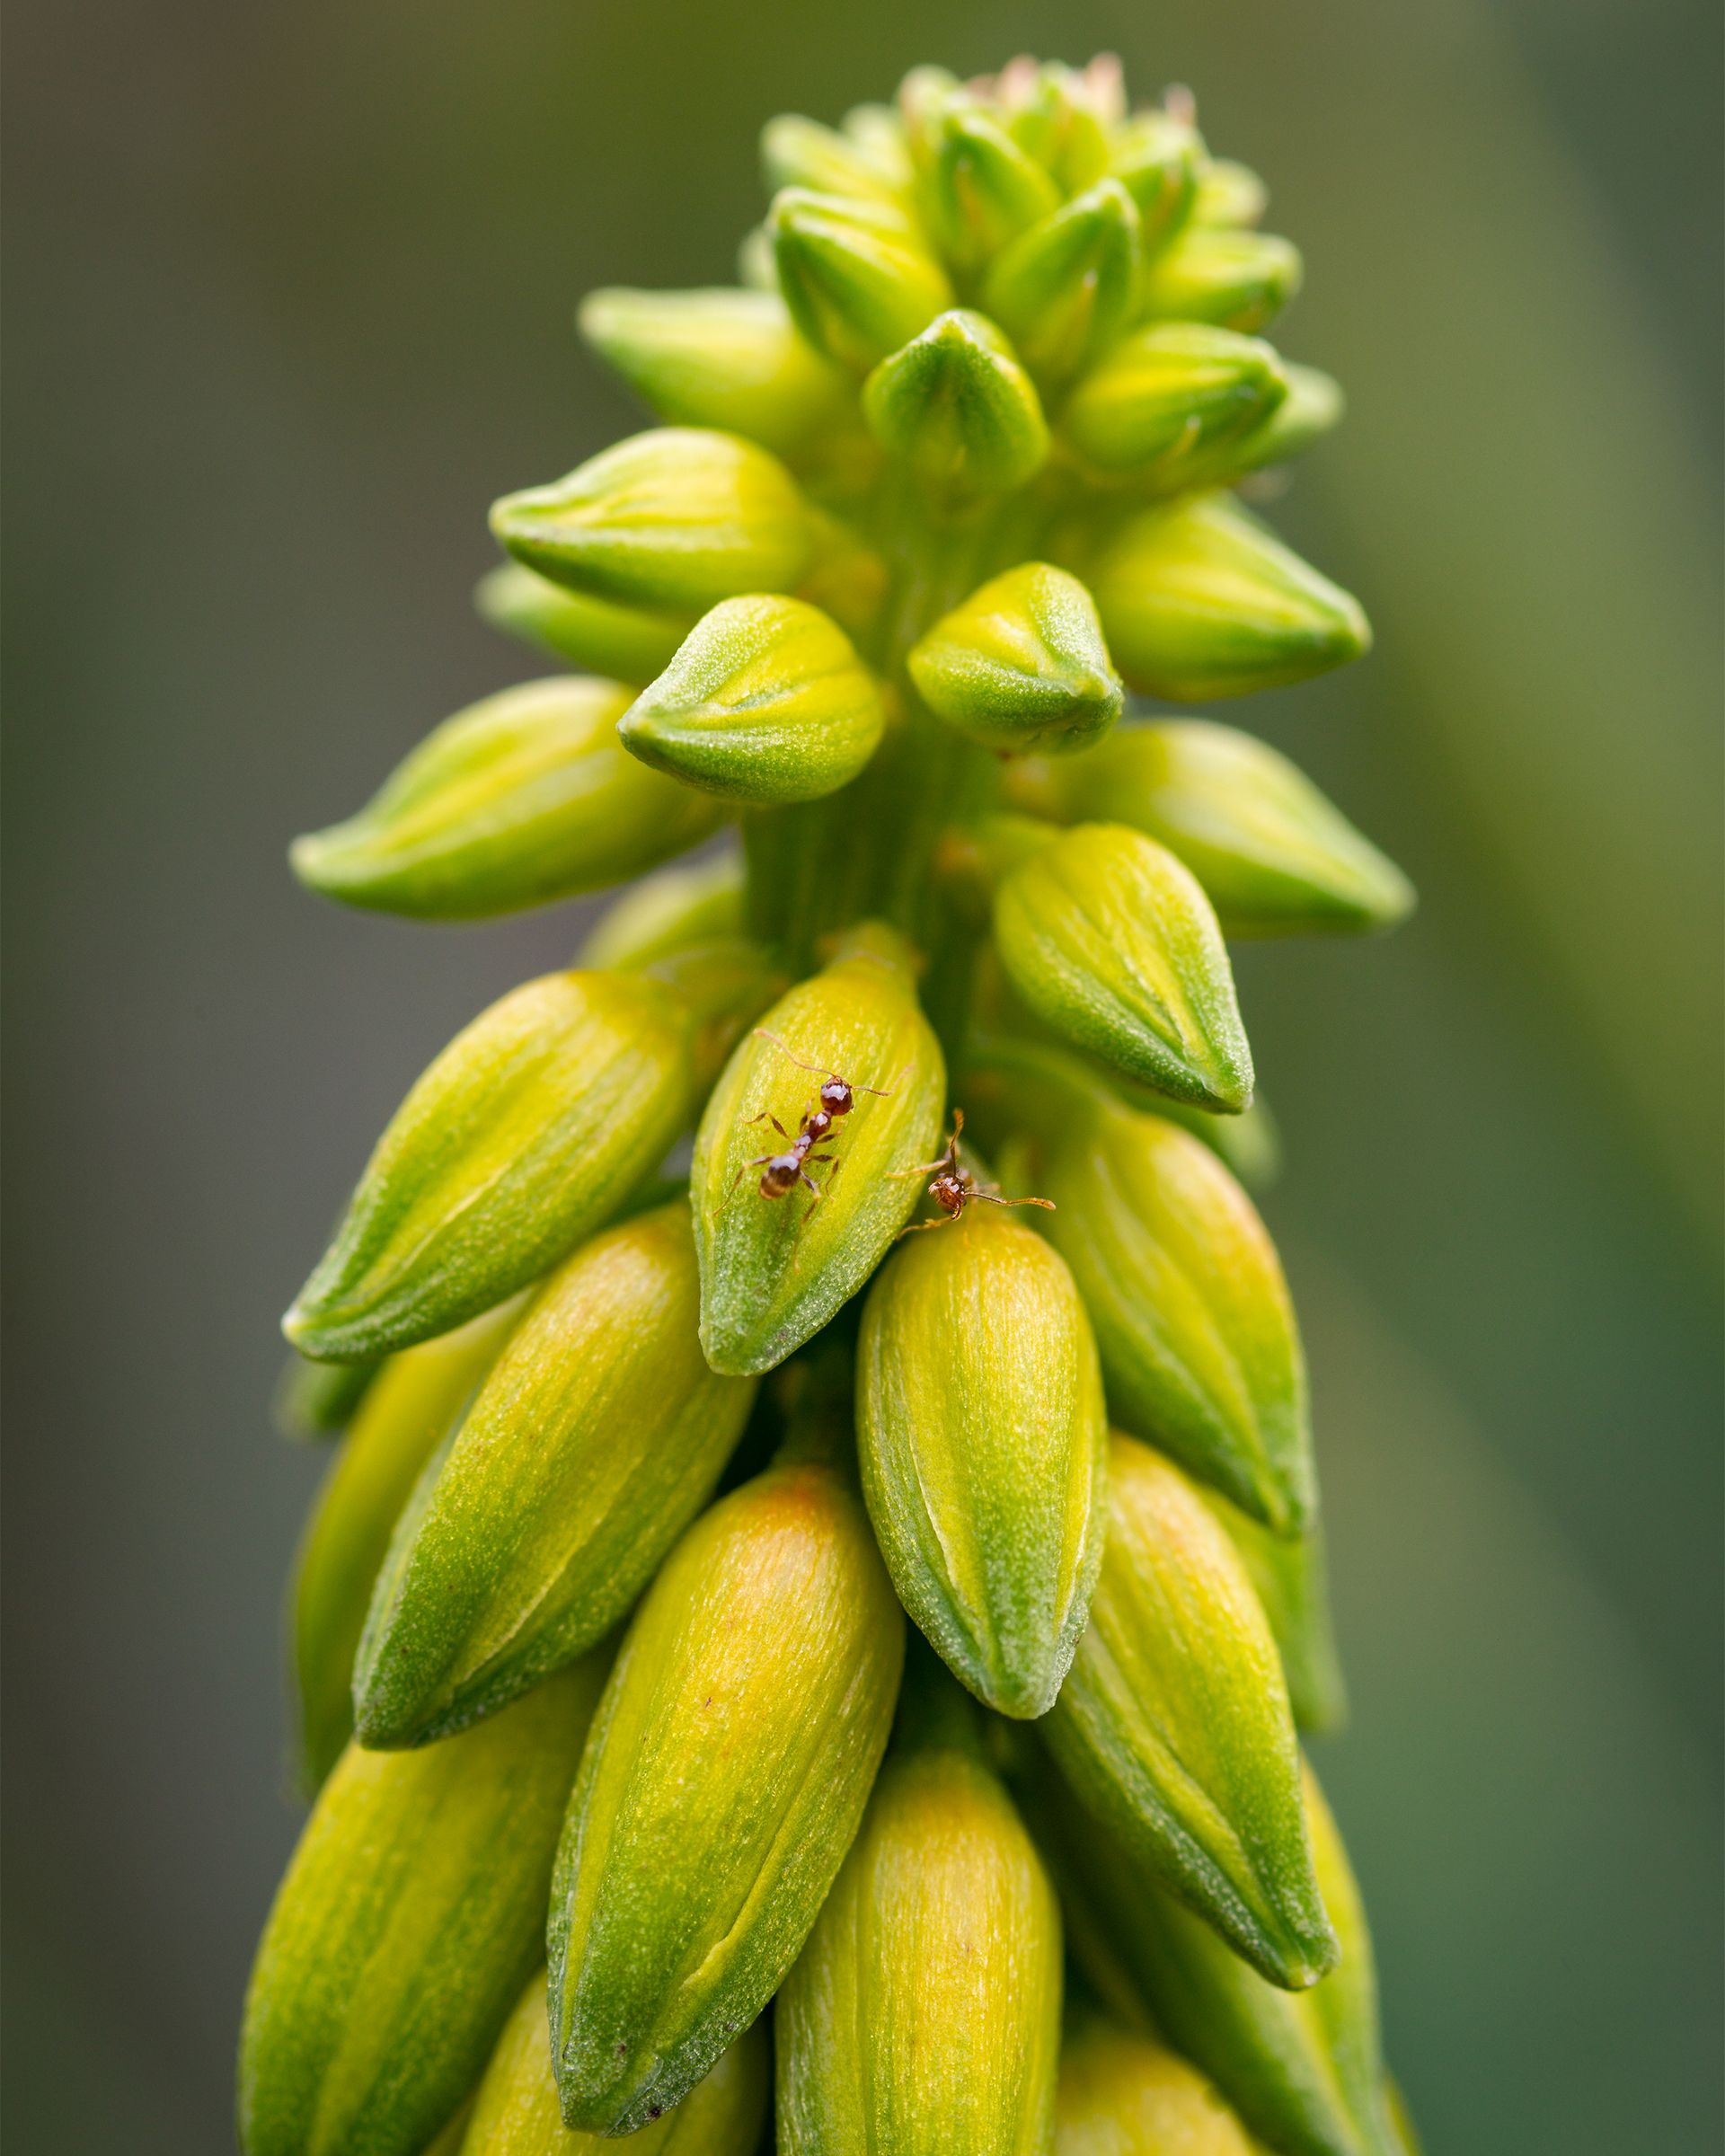
Now that we’ve covered some of the equipment you’re going to want to use, let’s move on to the shooting itself. Macro photography really lends itself to small and detailed subjects. For me when I was starting off, I tended to go towards plant and insect photography for their vibrancy, colours, and almost miniature worlds they presented. They make for good introductory subjects because they’re really accessible and will often stand still enough to get a few good shots in! Once you start looking, you’ll find all manner of subjects to shoot at home, or in a local park or garden.
Some things to remember though…
Tame your depth of field
This can be a tough one!
When focusing on a subject with a lens, the closer the subject to the lens, the shallower the depth of field becomes. This can become especially tricky as stopping down your aperture can often mean lowering your shutter speed, which can result in motion blur on your images. Another good tip when starting out is to shoot the subject as flat or perpendicular to the lens as possible. This can help maximise the in-focus areas of your image.
Shoot with Flash
This can be tricky too, as you generally don’t want to blow out your subjects with flat lighting, but it’s worthwhile to try, as more light will help with the depth of field issues I mentioned before, and can really help get some sharp shots.
It can also be worthwhile trying to move your flash off camera, or use a ring flash (such as the Metz MS-1 Macro Ringlight ), to avoid some of those “deer in headlights” looks you often see in photographs.
Manual Focusing
I often prefer manual focus for my macro photography. I trust my camera’s autofocus for everyday subjects, but for the precise focusing needed in macro photography, nothing beats a good manual focusing technique. It’s one of the reasons I recommend using a proper macro lens. The Tokina and Sigma lenses mentioned above have really smooth and precise focus rings, giving me great control of what I have in focus.
Shoot A LOT!
Honestly, don’t be afraid to take a few of the same shots of a subject. Depth of field can be really tricky to master, so it’s better to get a few photos to choose from.
Handheld vs Tripod
Both are good options, and provide certain benefits.
Handheld tends to be the less restricted option. No need for a tripod, but also none of the stabilisation you’d benefit from using one. My recommended technique is to try using a smaller aperture for extra depth of field, and to sway back and forth slowly, hitting the shutter when your focus is right. You’ll want to take plenty of shots with this technique though, just as a safety net, and a lens and/or camera with exceptional image stabilisation will also help greatly here with camera shake.
Tripods can also be a great option. They require a bit more setup, and can be more cumbersome, but you’ll get the best stabilisation. It will also help to pair the tripod with a remote shutter trigger. The recommended technique here is to move your subject, instead of the camera. For instance, if your subject is at the end of a stem, gently grab the base of the stem and move the subject into the focal plane and take your shot.
Take Advantage of your Lens Features
As mentioned above, if you end up getting a macro lens, you should take advantage of the close focusing distance and smooth focus controls. Additionally, for a lens like the Sigma 105mm f/2.8, you’ll also want to use the focus limit switch on the lens to reduce the amount of time it’ll take to autofocus.
Cut out the Unnecessary Stuff
This one’s a general photography tip, that really helps in macro photography.
When taking a photo of your subject, it’s good to be aware of what's in frame and try to adjust your photo composition so the “unnecessary stuff” is left off frame. You could always do this by cropping in post, but because of the nature of macro photography, you often don’t have that much leeway when cropping.
Building on the basics
This article was only ever meant to be an intro to macro, with some tips and basic photo ideas, so if you’re interested in some advanced reading, I recommend a few topics (each one which deserves its own article).
Focus stacking
Focus stacking allows you to combine multiple photos at different focus distances to increase your depth of field. It’s a good technique to learn, but requires a bit more work on location and in post.
Know your subject
This is also a general photo tip, but definitely helps for macro photography. Learn as much as you can about your subject. In the case of insects, their most active times, feeding habits, etc, and for plants, their flowering times, lifecycles, etc.
Reverse lens
This one’s an interesting technique. It involves mounting your lens in reverse on your camera via an adapter. It can be really fun to do, so definitely worth looking into.
Signing off
I’ve found macro photography really fulfilling on my photographic endeavours, so it’s something I like to share with anyone who's interested. Hopefully the info here has set you down the right path on your own macro photography journey. Good luck out there, and catch y’all next time!
If you need more information on cameras and other camera accessories, check out more articles on the C.R. Kennedy Blog.
William Algar-Chuklin is a night and travel photographer based in Sydney, Australia. You can check out some of his work at walgarch.com and on Flickr
