
Elevating your Sunrise and Sunset Photography
Updated On: 08/07/2026
Sunrise and sunset photography are some of the most rewarding types of shooting you can do. The calm serenity of the world as the sun rises, or the beauty and approachability of photographing the sun setting make this type of photography perfect for beginners and pros alike. Let’s talk about some tips, and elevate your sunrise and sunset photography!
The Rundown:
- The never ending search for perfect light.
- A workflow for great photographs.
- On location tips for photos ready for editing.
In my shooting, I’ve found sunrise and sunset photography to be one of the most approachable types of photography out there. It’s serene, contemplative and gets you in tune with some of the best aspects of the natural world, and it’s a subject that’s easily accessible and available every day (with the right weather of course).
Let’s start by covering some tips before you go out shooting, then tips for when you’re out in the field.
Research for Success
I find the researching process a rewarding aspect of planning a shoot. It’s not 100% necessary, but can ensure a better keeper rate for the photographs you take on the day.
At the very least you want to do two pieces of research for every shoot:
Location scouting
Location scouting is a time honoured tradition for successful shoots. You can do this by either visiting the location beforehand to get an idea of how you want the shoot to go, the landscape shots you want to take, difficulties you might face, and the general possibilities of the types of shots you’ll be able to get.
The easier option for location scouting though is online research. With online tools like google maps, image search engines, and sunset and sunrise planner apps. You can visualise shots without visiting a location. Also check out what other photographers are shooting in that area to get some more inspiration of the types of shots that are possible at that location.
Location scouting is a time honoured tradition for successful shoots. You can do this by either visiting the location beforehand to get an idea of how you want the shoot to go, the landscape shots you want to take, difficulties you might face, and the general possibilities of the types of shots you’ll be able to get.
Golden and Blue Hour Times
Golden and blue hours have some of the most rich and beautiful light available for sunrise and sunset photography. You’ve likely seen the warm or cool glow of the sunlight as it sets over the horizon, and also seen it captured in many photographs. The name is a little bit of a misnomer though, as they can last more or less than an hour depending on location and time of year.
It’s a good idea to research the sunset and sunrise times for the specific location you want to shoot at as these will directly affect the golden and blue hour times at a location.
This leads us to the next tip!
Get there early!
This can’t be understated! Time of the essence when shooting in relation to the sun, especially when shooting sunrise photography. You’ll want to get to your shooting location at least an hour early to assess the area and choose suitable spots to shoot from.
Sunsets and sunrises can happen over the course of a few minutes. This usually means an extremely short window for golden hour shots, and generally longer windows for blue hour shots. Blue hour before golden hour on sunrises, and blue after golden for sunsets, this in a way makes sunset photography more forgiving. Keep this in mind if you have limited access to a location, but don’t fret too much if you can revisit a location many times; Luckily the sun sets and rises every day!
With this in mind, you’re going to want to be prepared! This leads nicely into our next tips.
Look all around you!
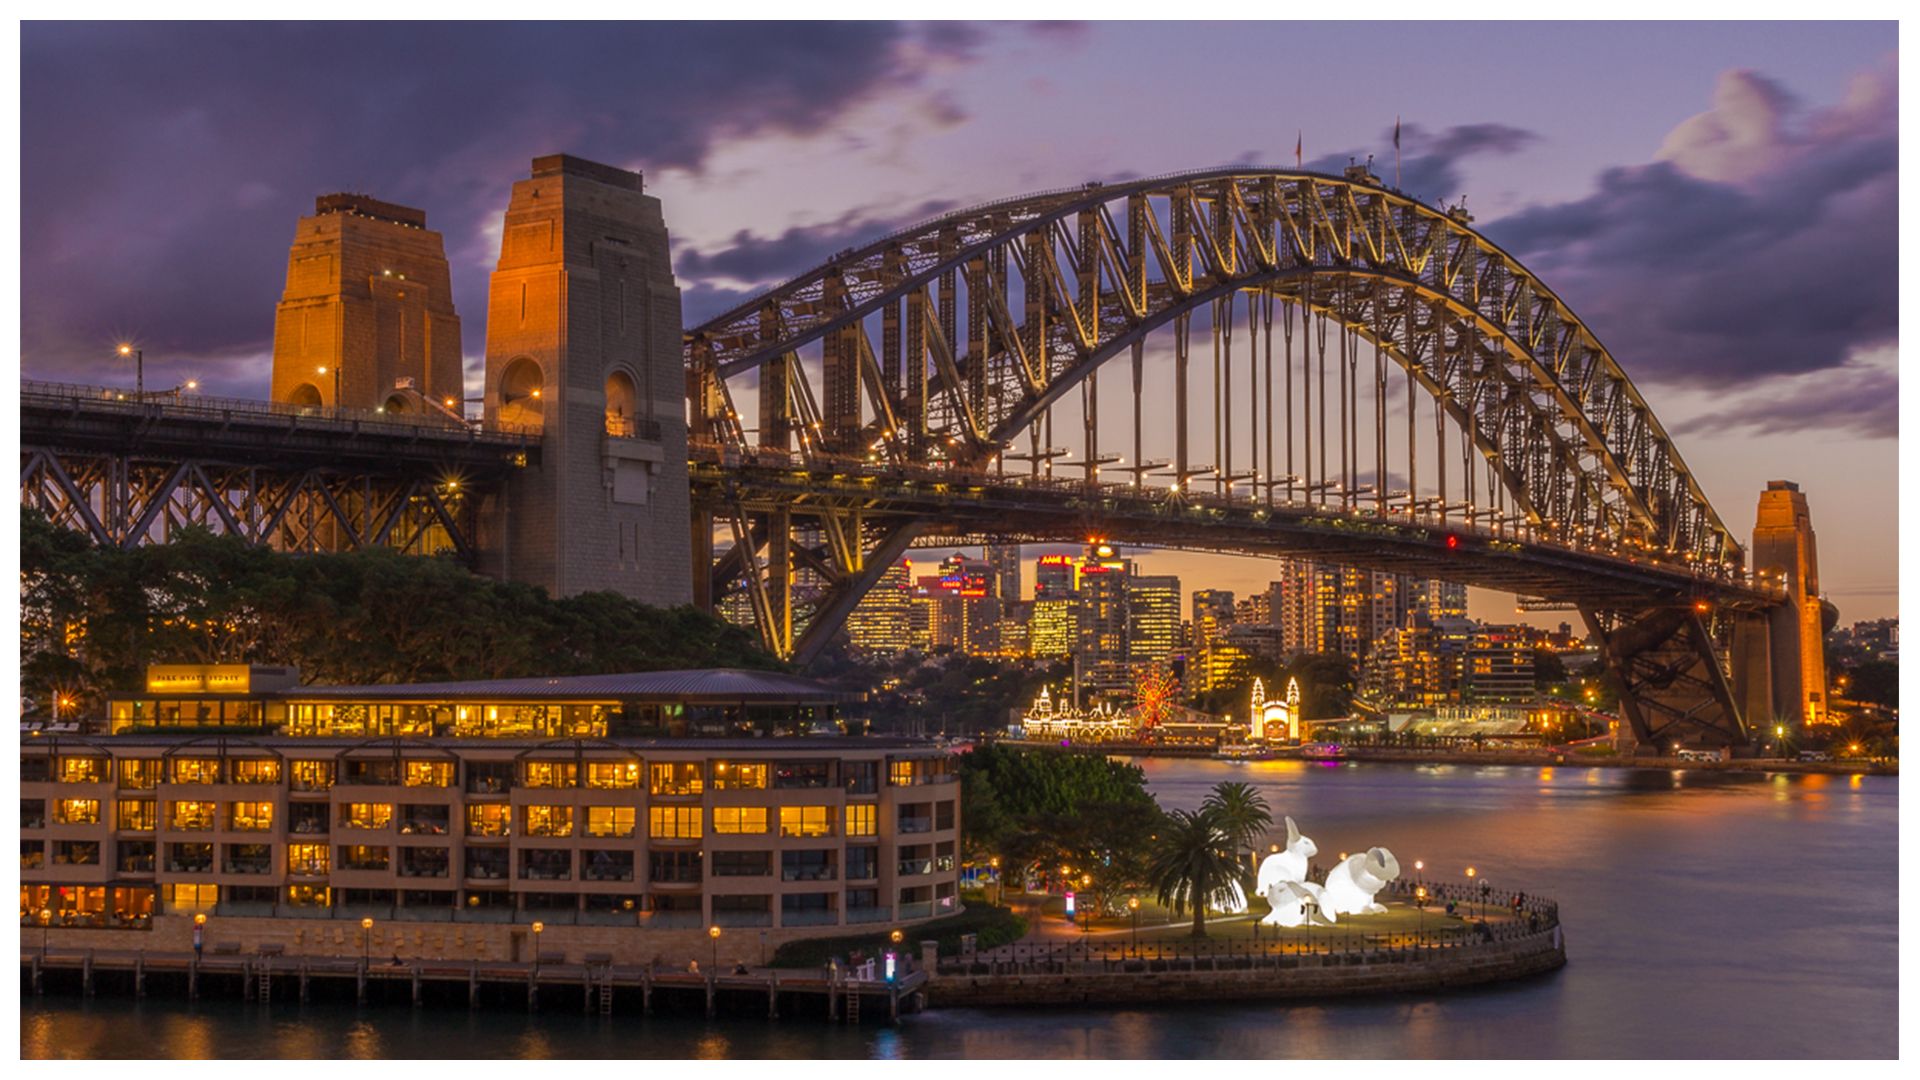
It is common for a photographer to solely focus on the sunrise or sunset for this type of photography. My recommendation here is to look all around you. Often the light on the clouds opposite to the sun can be spectacular and can be better than the sunrise/sunset.
Don’t restrict yourself. Beauty can be found all around you at these times of day!
Use a Tripod for best results
I’d highly recommend bringing a tripod along. Tripods allow for sharper long exposures, which given the low light that is available at dawn and dusk, happen almost all the time.
A good carbon fibre tripod is a life saver, and in my opinion, an essential part of a photographer’s toolkit.
I’ve written an article on what makes a good tripod, but needless to say, you’ll want one that’s sturdy, light, and supports the weight of your camera and attached lens.
If your tripod also has a hook to hang stabilising weights, take advantage of your heavy camera bag and hang it on that!
Camera settings for the Shoot
My general camera settings workflow for shooting sunrises and sunsets on location are the same:
Shoot RAW
This is generally a good all round tip, and one I don’t really mention much because it’s set-and-forget. Generally you want to be shooting RAW files for the extra dynamic range and latitude when it comes editing and fixing issues in post. You’ll want to RAW to help deal with blown highlights and recovering shadows common when dealing with the sun.
Lock your ISO
I shoot on a tripod, and generally you should too. This allows you to lock your ISO at 100, to achieve the best dynamic range your camera can muster. Since you’ll be recovering shadows and dealing with blown highlights, you’ll want to adjust every setting that increases the dynamic range of your sensor. When looking at the exposure triangle, I’d be adjusting ISO last for sunrise and sunset photography.
Aperture priority
Easy enough to do. Set your camera to Aperture priority and select an aperture between f8-f16 on an APS-C crop sensor camera, or between f/11-f/22 on a Full Frame camera. The higher the aperture, the more you’ll have in focus in frame. Beware that pushing your aperture too far can lead to softer images due to an effect called diffraction. The numbers above would suit most modern high resolution sensors.
Set your Shutter to Auto
A straightforward setting. Since you’ll be shooting on a tripod, adjusting the shutter speed to deal with camera shake isn’t important. You can let the camera automatically adjust the shutter speed.
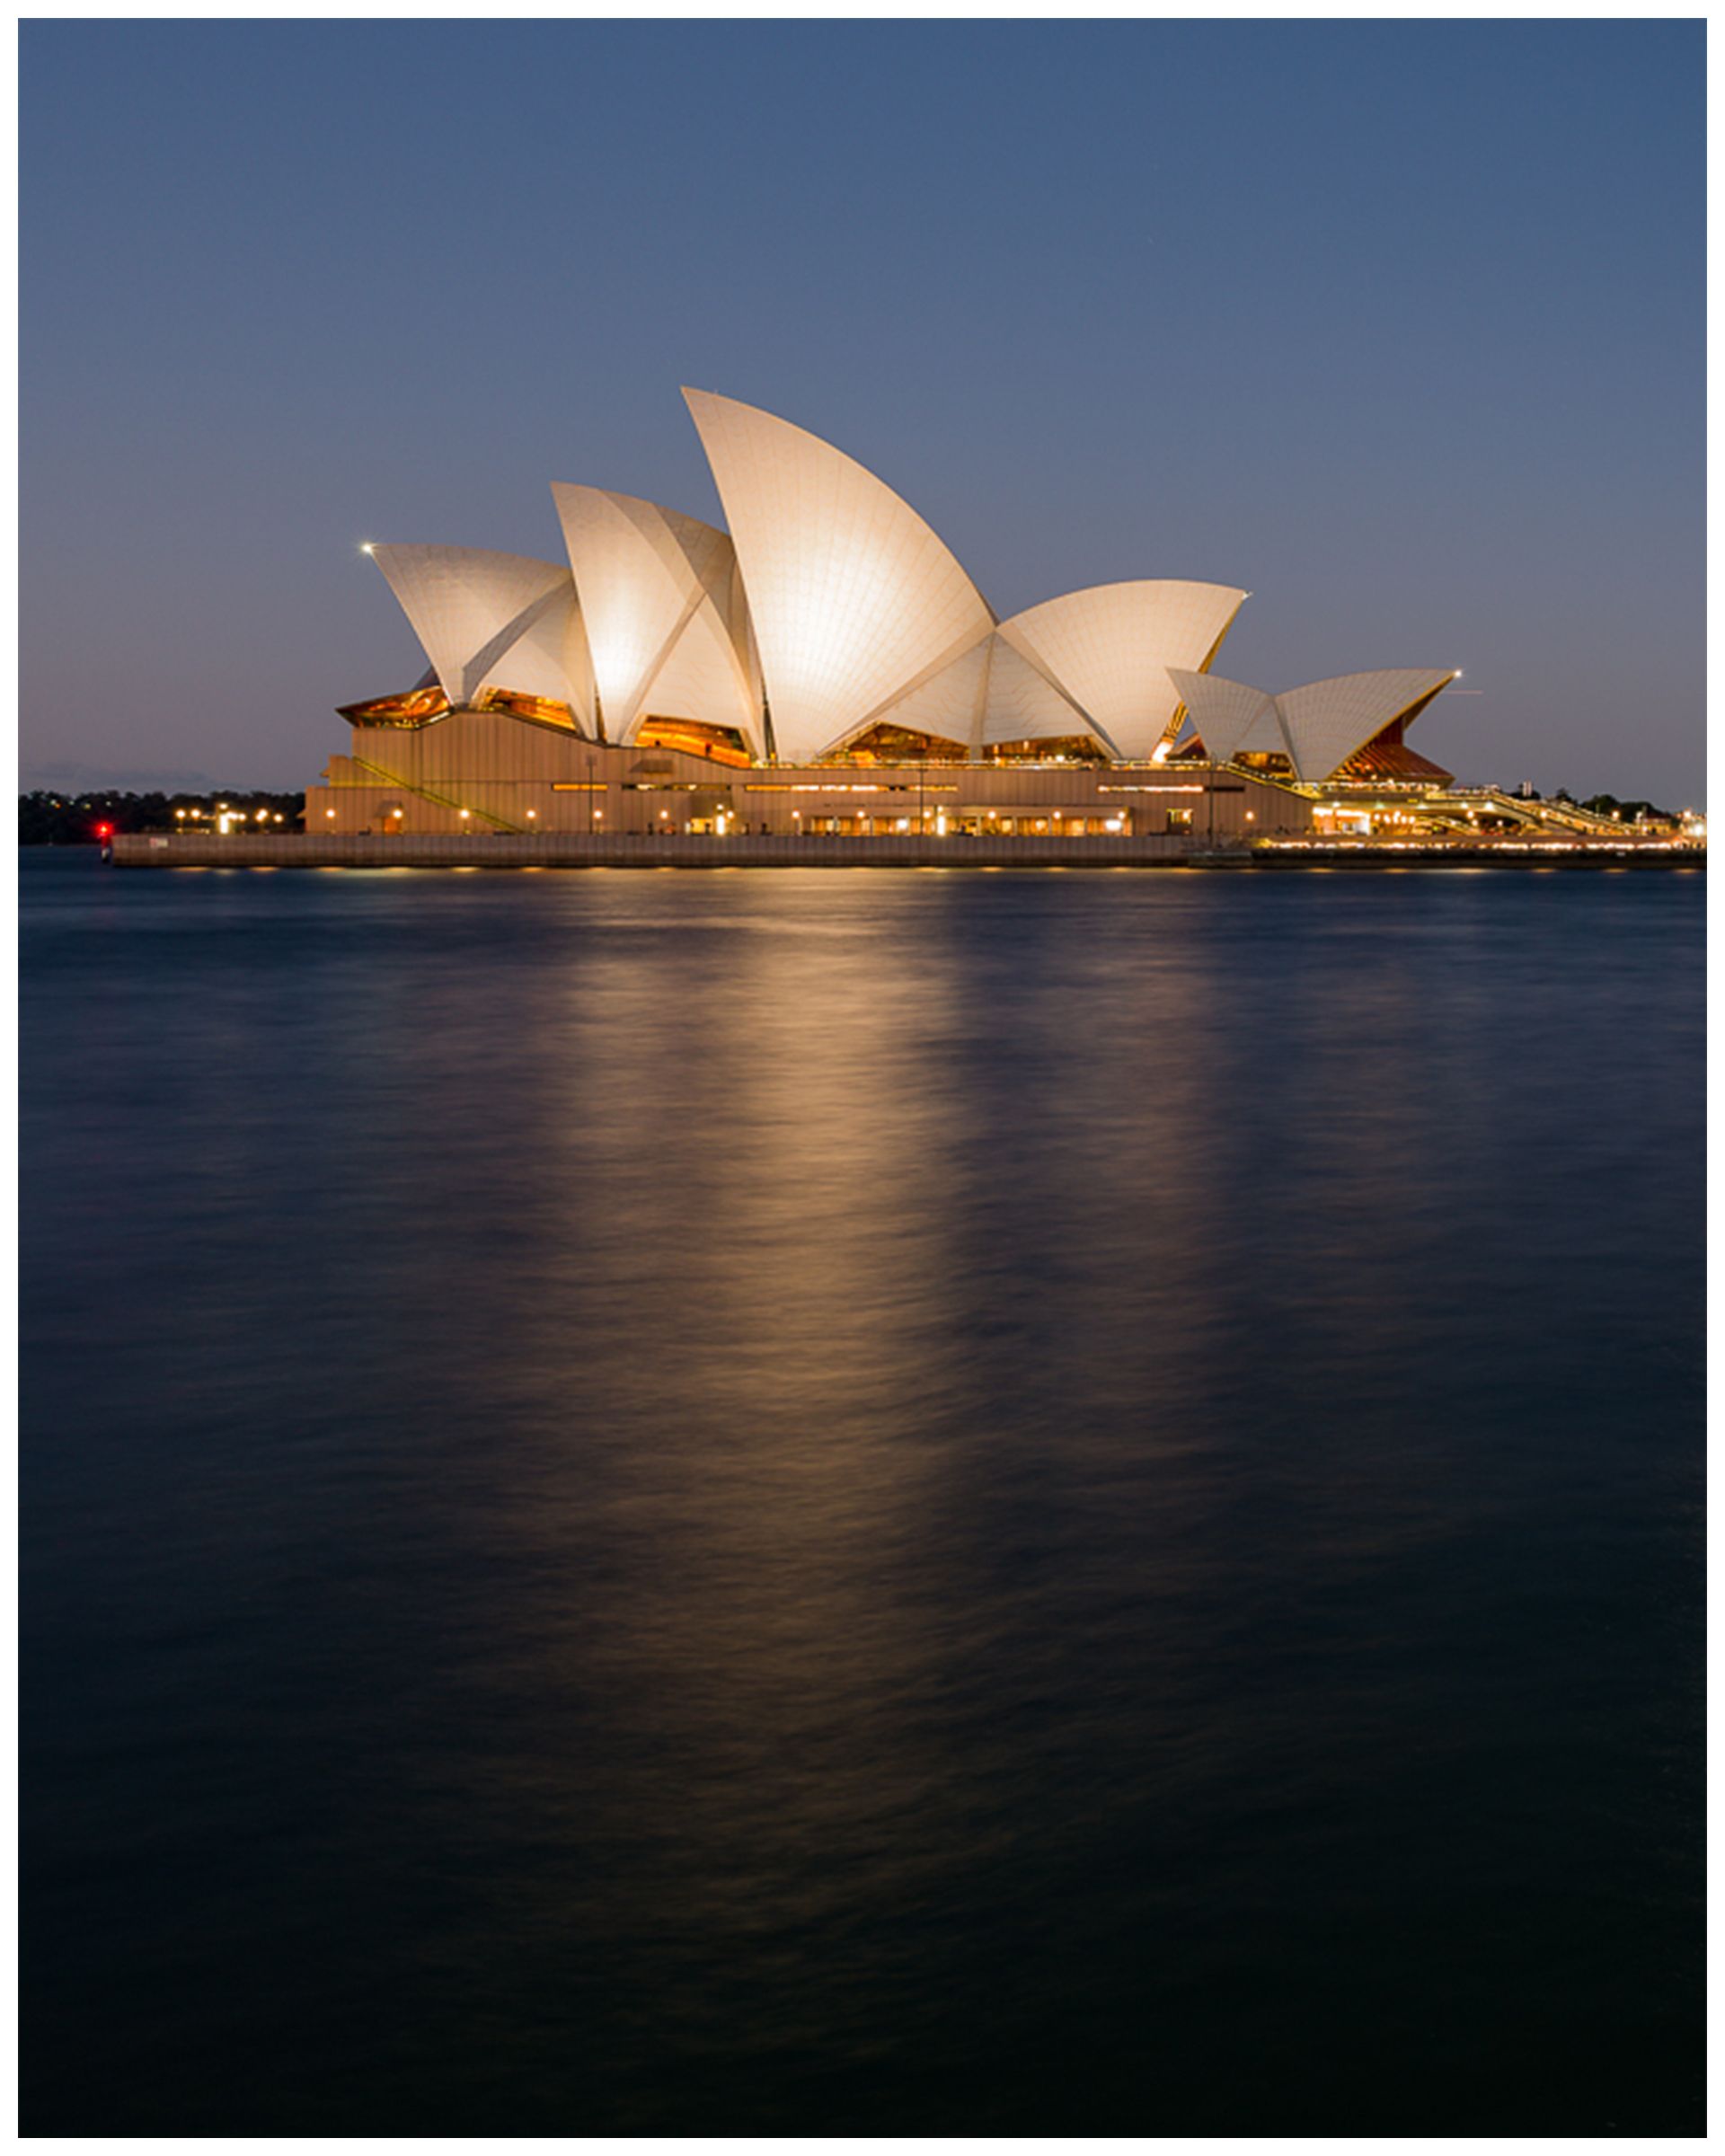
One thing to note, is that with the possibility of longer exposures, comes the possibility of capturing motion blur in your images. I’ve found this desirable, since a lot of my sunset shots also include water, and the blurring of water can show up nicely, but it’s something to keep in mind if that’s not an effect you’re looking for. Adjust your other camera setting accordingly. I’d suggest leaning on changing the aperture first before the ISO, or a combination of both.
Ready to shoot!
Once you’ve got these settings set up on your camera, you’ve settled on a location, have your tripod set up and you’re ready to shoot, my general workflow for a shoot is:
LCD for Composition
Flip out that LCD screen and get ready to work on your composition. Loosen your ball head and start working on a composition that works for you. Rules of thirds, leading lines, etc. Once you’re happy with the composition, I recommend zooming out a little bit. This can give you some leeway when editing your photos in post. There’s nothing worse than trying to straighten the horizon only to have to cut off part of your intentional framing.
Focusing
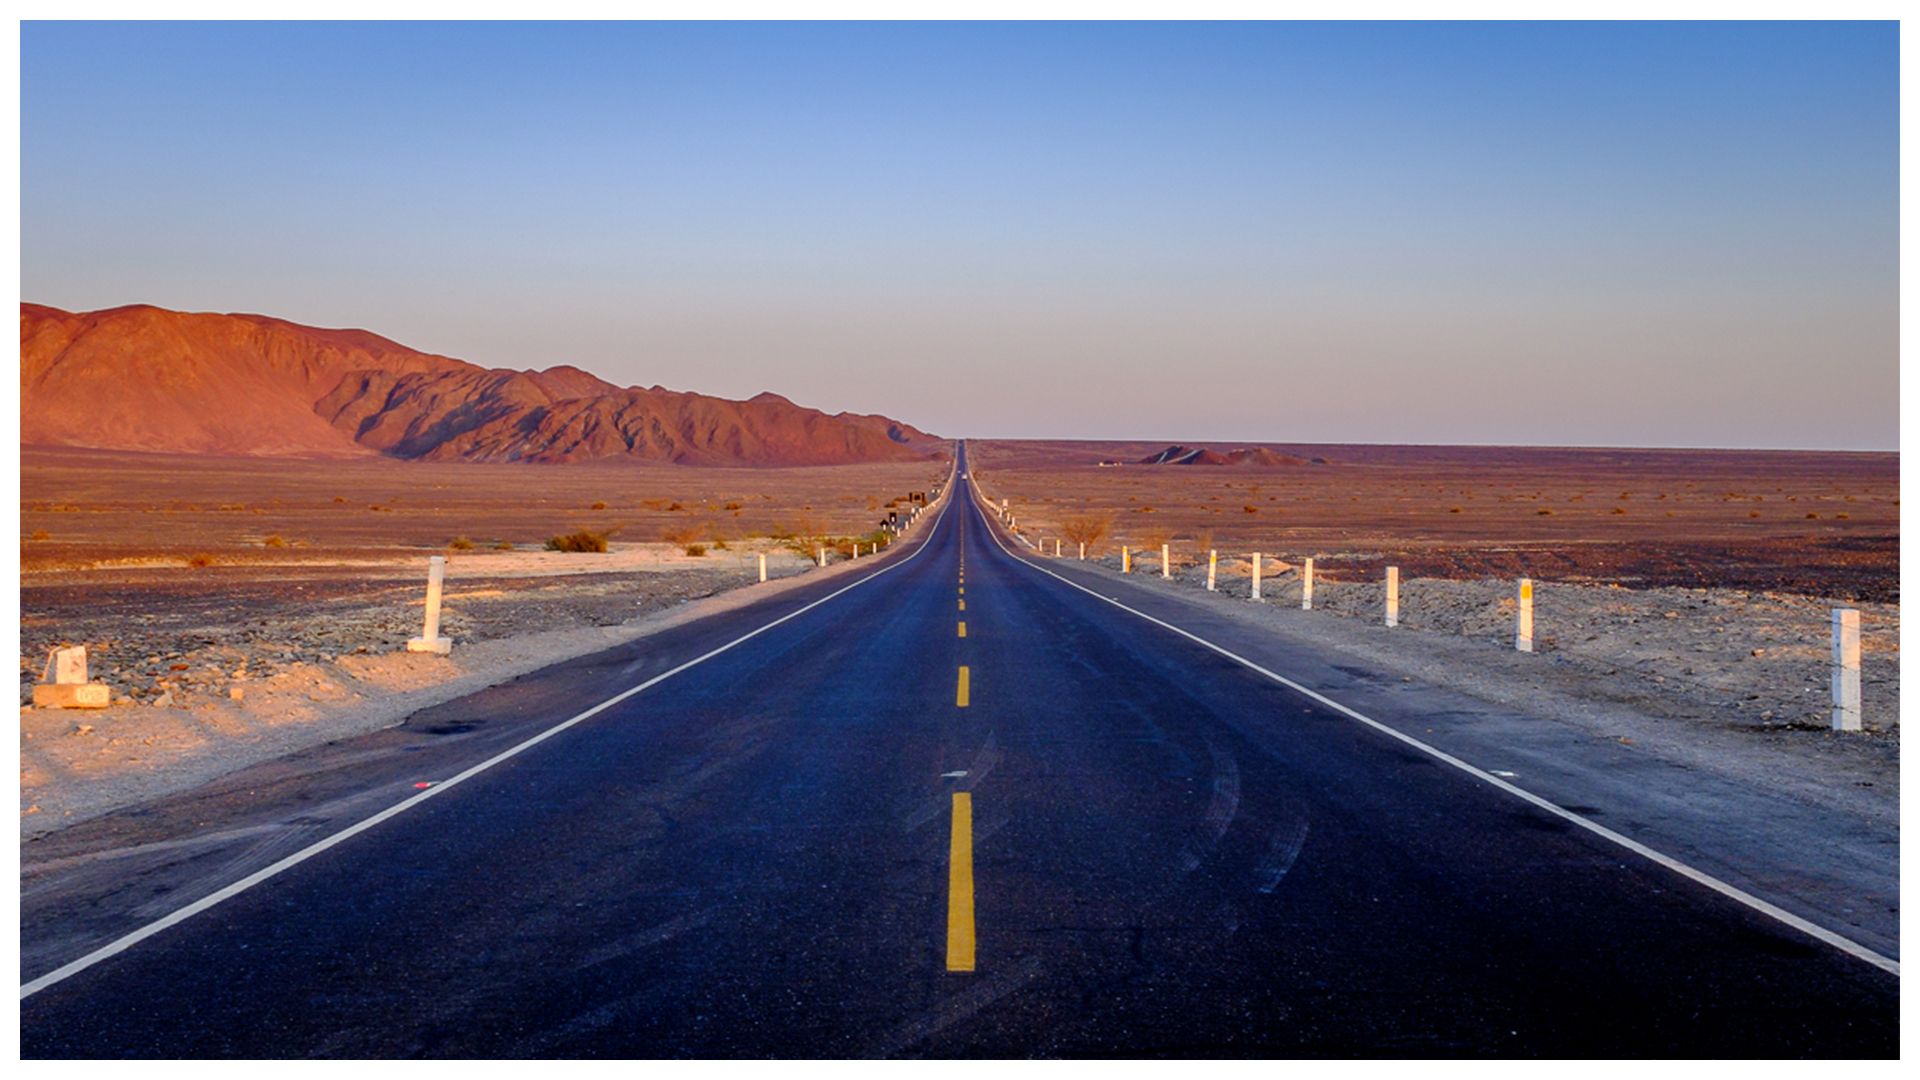
There’s a science to Hyperfocal distance focusing. Using the hyperfocal distance when focusing on a lens allows you to get the maximum of objects in a scene in focus in your frame. There are phone apps that can help you calculate this distance, but the rule of thumb is to focus on a spot 1/3rd from the bottom of your frame to the horizon. Adjust your focus point accordingly and you should be set with a high enough aperture.
Exposure Bracketing
Bracketing is when your camera will capture multiple photos in short succession, each with different levels of exposure, so they can be combined together in post to acheive greater dynamic range.
Exposure bracketing can be a must if the dynamic range of your scene is too much for your camera sensor to handle. Most modern cameras will allow you to exposure bracket automatically. It can be a good idea to get used to this setting before the shoot as they can be a lifesaver when you need to resort to photo stacking to get the correct exposure for your shot.
Signing Off
Hopefully this gives you a better idea of how to plan and run a sunrise or sunset shoot. They’re easy to do once you know how to, and I find them very rewarding and some of my best shots are from that time of day. I’m sure you’ll have some keepers too!
If you need more information, check out some of our other articles on the C.R. Kennedy Blog.
William Algar-Chuklin is a night and travel photographer based in Sydney, Australia. You can check out some of his work at walgarch.com and on Flickr
