How To Use a Circular Polarising Filter
No outdoor photographer’s kit is complete without a circular polariser filter.
A circular polariser not only improves the overall look of an image through added contrast and saturation, it also removes pesky reflections, haze and glare that can be more than a little challenging to address during the editing process.
Getting the hang of how to use a circular polarising filter can take some time but read on for some tips to get you started!
How Does a Circular Polarising Filter Work?
Certain surfaces, as well as various particles in our atmosphere, reflect or scatter particular light waves. This causes some types of haze that you see on a sunny day and dulls the color of the sky.
It is also what creates reflections in windows or the glare on a surface that is getting hit by the sun. The main job of a circular polariser is to filter out the reflected or scattered light hitting your camera lens.
How To Adjust a Circular Polarising Filter
When you are first learning how to use a circular polariser lens filter, it can take some getting used to. The filter is usually constructed of two pieces of glass on a mount that attaches to the threads on the front of a lens
The outer ring of the mount rotates in both directions, which allows you to adjust the degree of polarisation you desire. Using the filter is easy, but getting the best results is not simply a matter of pointing the lens at your subject and shooting.
Achieving the Desired Effect
So how do you use a circular polarising filter?
To achieve color saturation and reduce reflections, you need to make sure that you think through the angle of your shot. The greatest amount of polarisation occurs at an angle that is 90 degrees from the angle of the sun’s light. This means that to get the most out of your filter, you want to shoot at the optimum angle.
There is a simple trick to finding out what this is. Using your index finger and thumb, form the same of an “L” and point your index finger right at the sun.
Now, anywhere your thumb is pointing as you rotate it in a circular direction is the area where your image will be most uniformly lit, which is when you will see the greatest benefit from using the filter.
Once you determine the appropriate angle, it is time to frame up your shot.
Aim your lens at what you want to shoot and simply rotate the outer ring of the filter until you get the desired effect. It is really important to remember that adjustments to the filter need to be made each time you rotate or significantly change the position of your lens.
Reducing the Potential for Error
There are several things to keep in mind when you use a circular polarising filter so that you get the shot you are looking for:
- Polarisers decrease how much light reaches your lens, so you may need to adjust your camera’s shutter speed, aperture or ISO to get the correct exposure.
- Do not use your filter when shooting directly into the sun, as you lose the 90-degree angle that is needed to achieve the best effect.
- Take care when using a wide angle lens with a circular polariser. The wider the angle, the more likely you are to get color variations and an unevenly colored sky.
How To Clean a Circular Polarising Filter
To get a good, clear photo, you need to make sure you keep your filter clear of dust, fingerprints and other sources of grime that can mar the quality of your image.
Cleaning your filter is done in much the same way you clean your lenses:
- Use a blower or a soft-bristled brush first. This takes care of all of the loose particles on the surface.
- Next, apply a few drops of lens cleaner to a cleaning cloth or tissue.
- Gently rub the glass in a circular direction, working from the center of the filter to the outside.
How To Choose a Circular Polarising Filter
There are a wide range of these filters on the market today.
It may be tempting to go for the cheapest one available, but in doing so, you risk the quality of your images.
Low quality filters lead to ghosting and flare, which is often worse than simply going without the filter!
Always choose a high-quality polariser to ensure the best results. Look for one that is capable of handling autofocus systems and does not reduce the amount of light that hits your lens by more than two stops.
Best Circular Polarising Filters Available
The best circular polarisers are made from high-quality glass and are designed to improve color saturation, reduce haze, and eliminate glare and reflections from non-metallic surfaces.

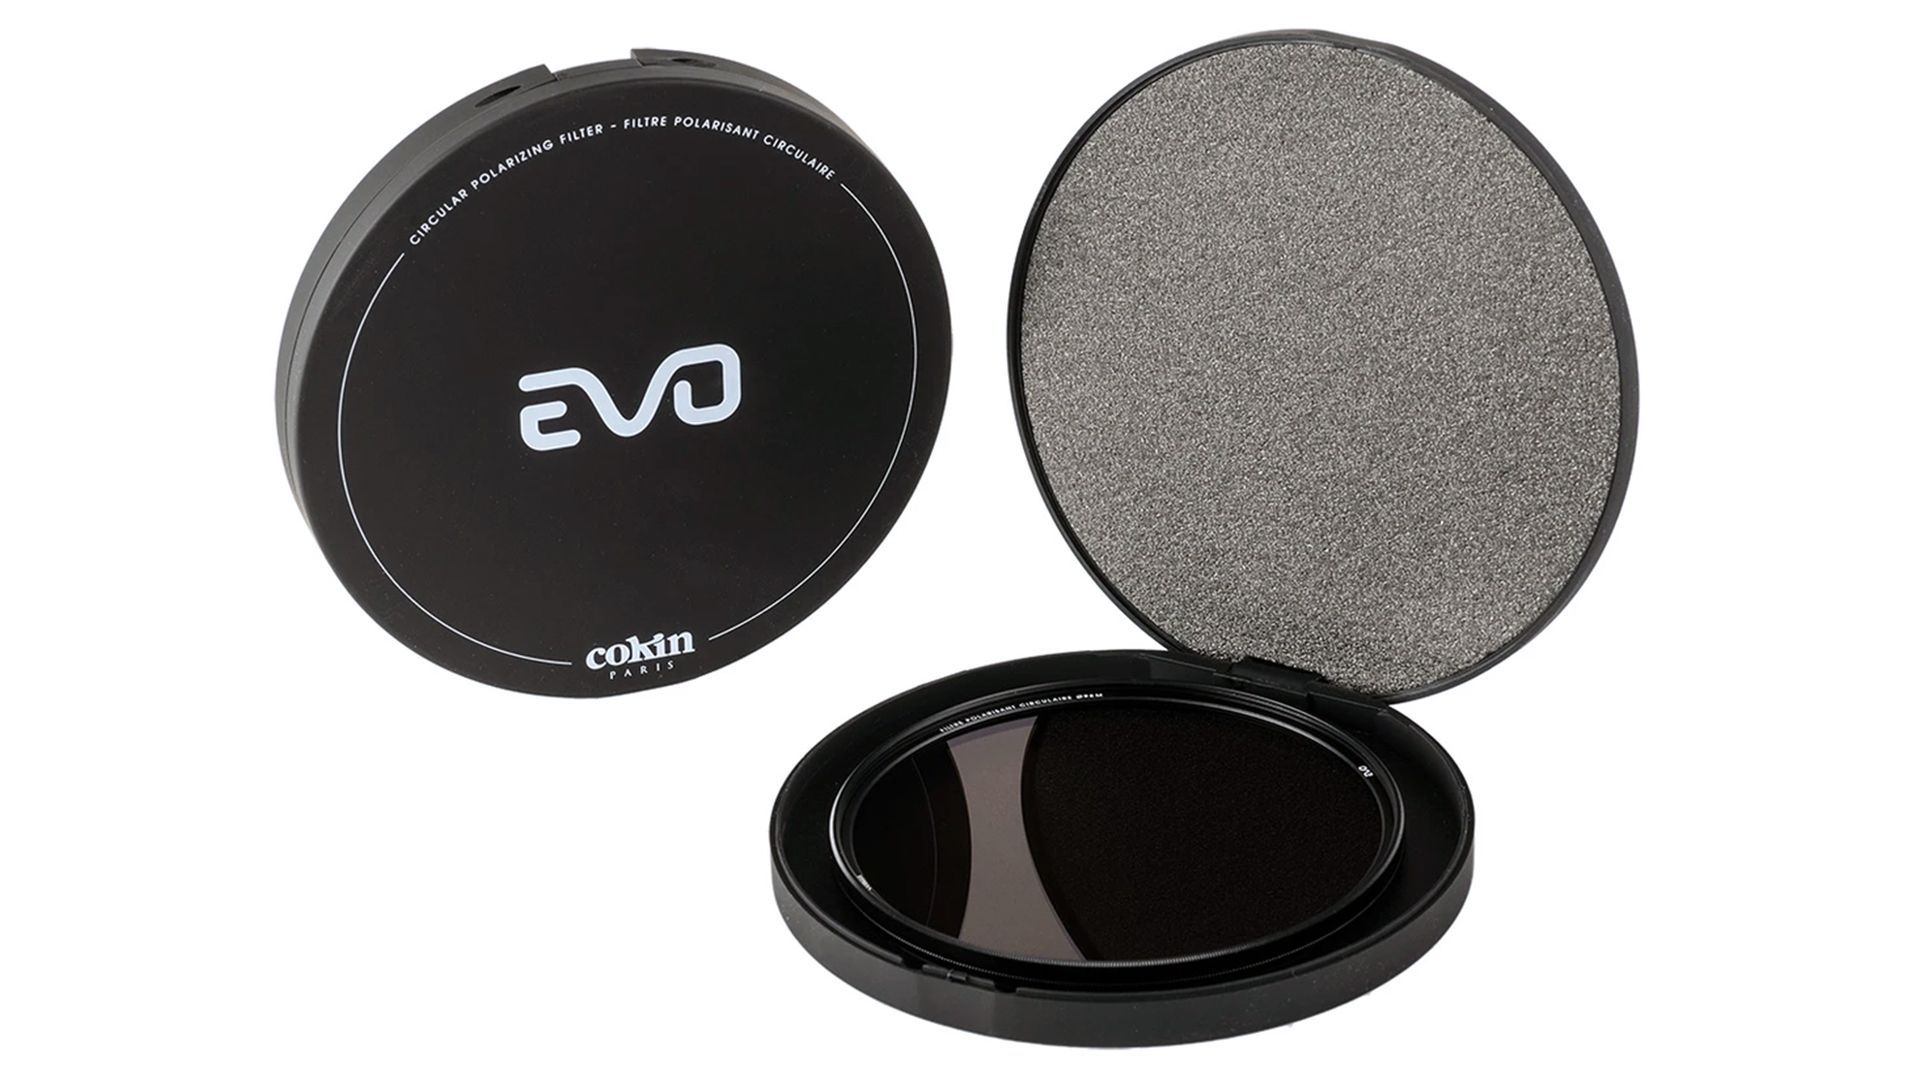
Cokin EVO Circular Polariser Filter Kit
If you intend to include a number of filters in your photography kit, the Cokin EVO Circular Polariser Filter Kit is the best option for you. The Cokin kit includes the EVO modular holder that can hold up to three filters in designated scratch-resistant slots.
The kit comes with a top-of-the-line EVO Polariser that only diminishes light by a single stop.

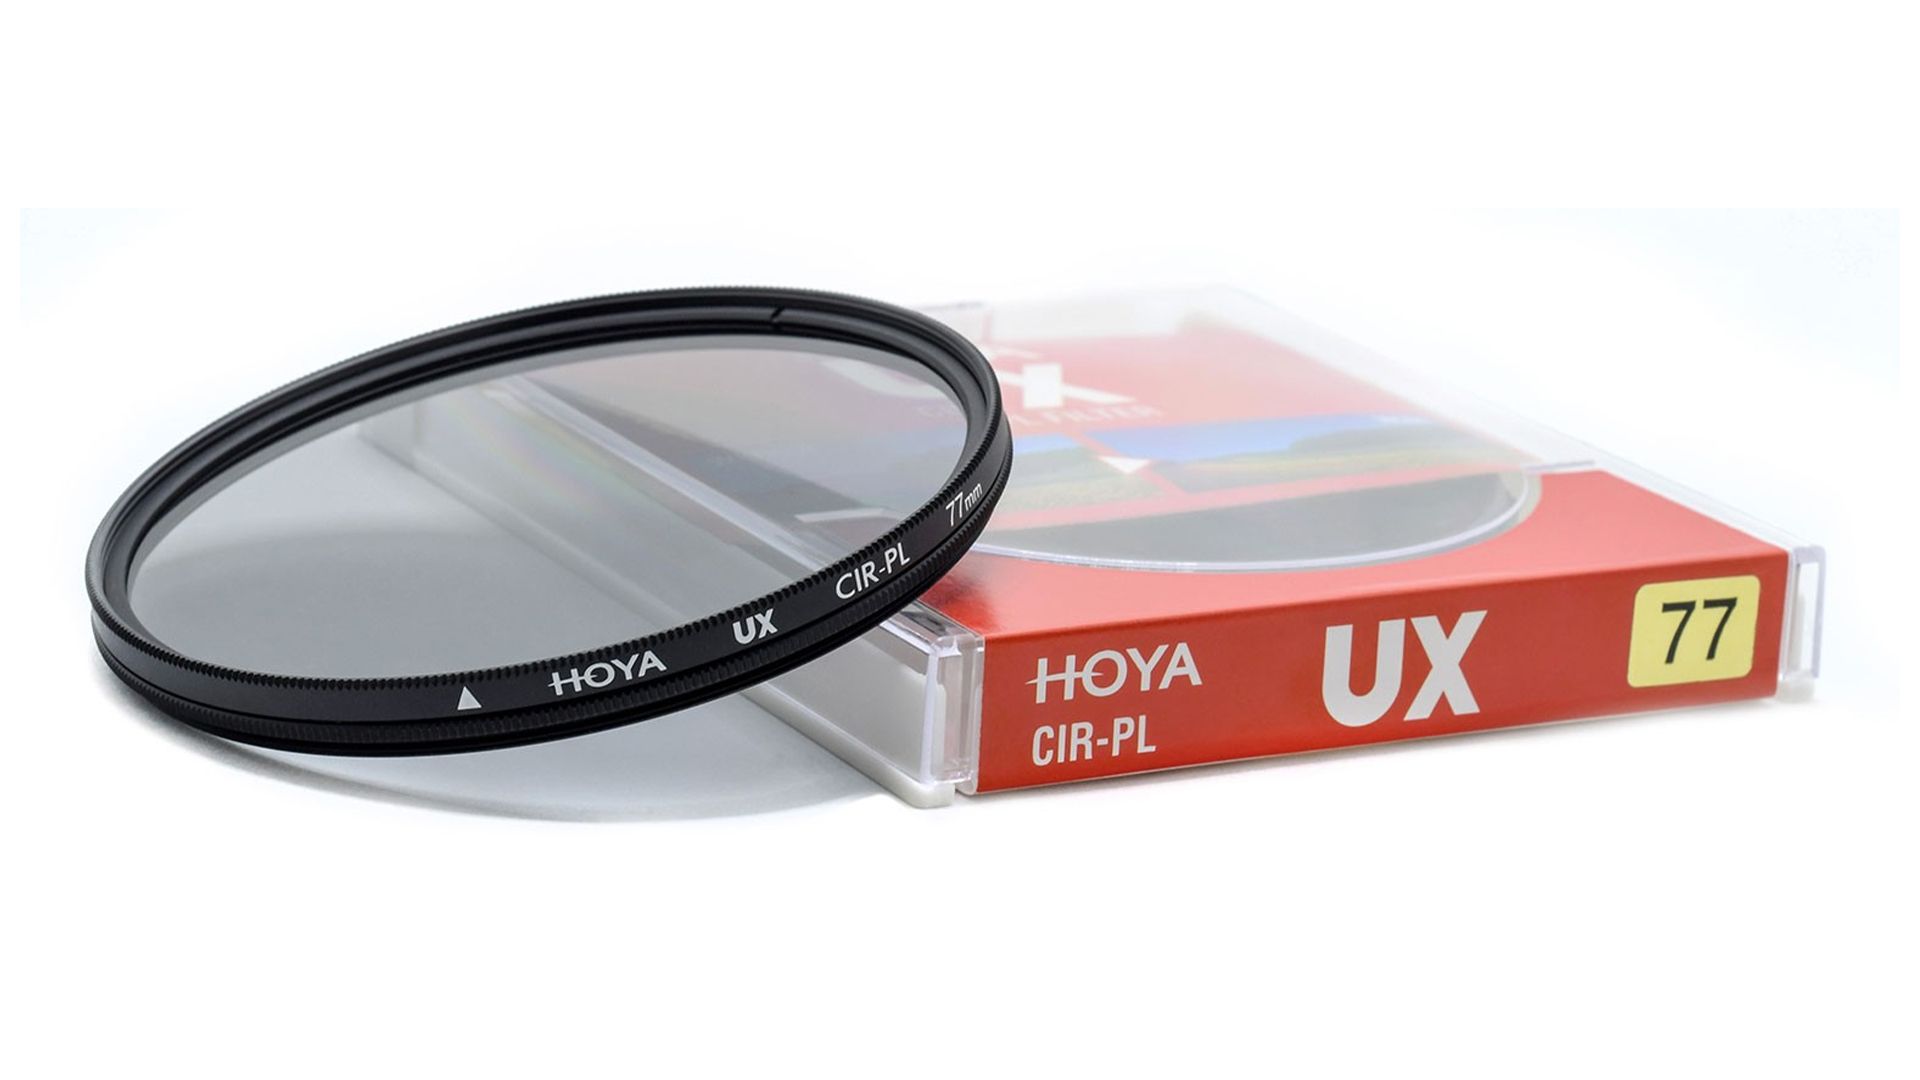
HOYA UX Circular Polariser Filter
The HOYA UX Circular Polariser Filter does a great job of capturing images without distorting the color balance. It works well with the metering systems in DSLR cameras, and you won’t lose more than two stops of light.
All at a very affordable price!

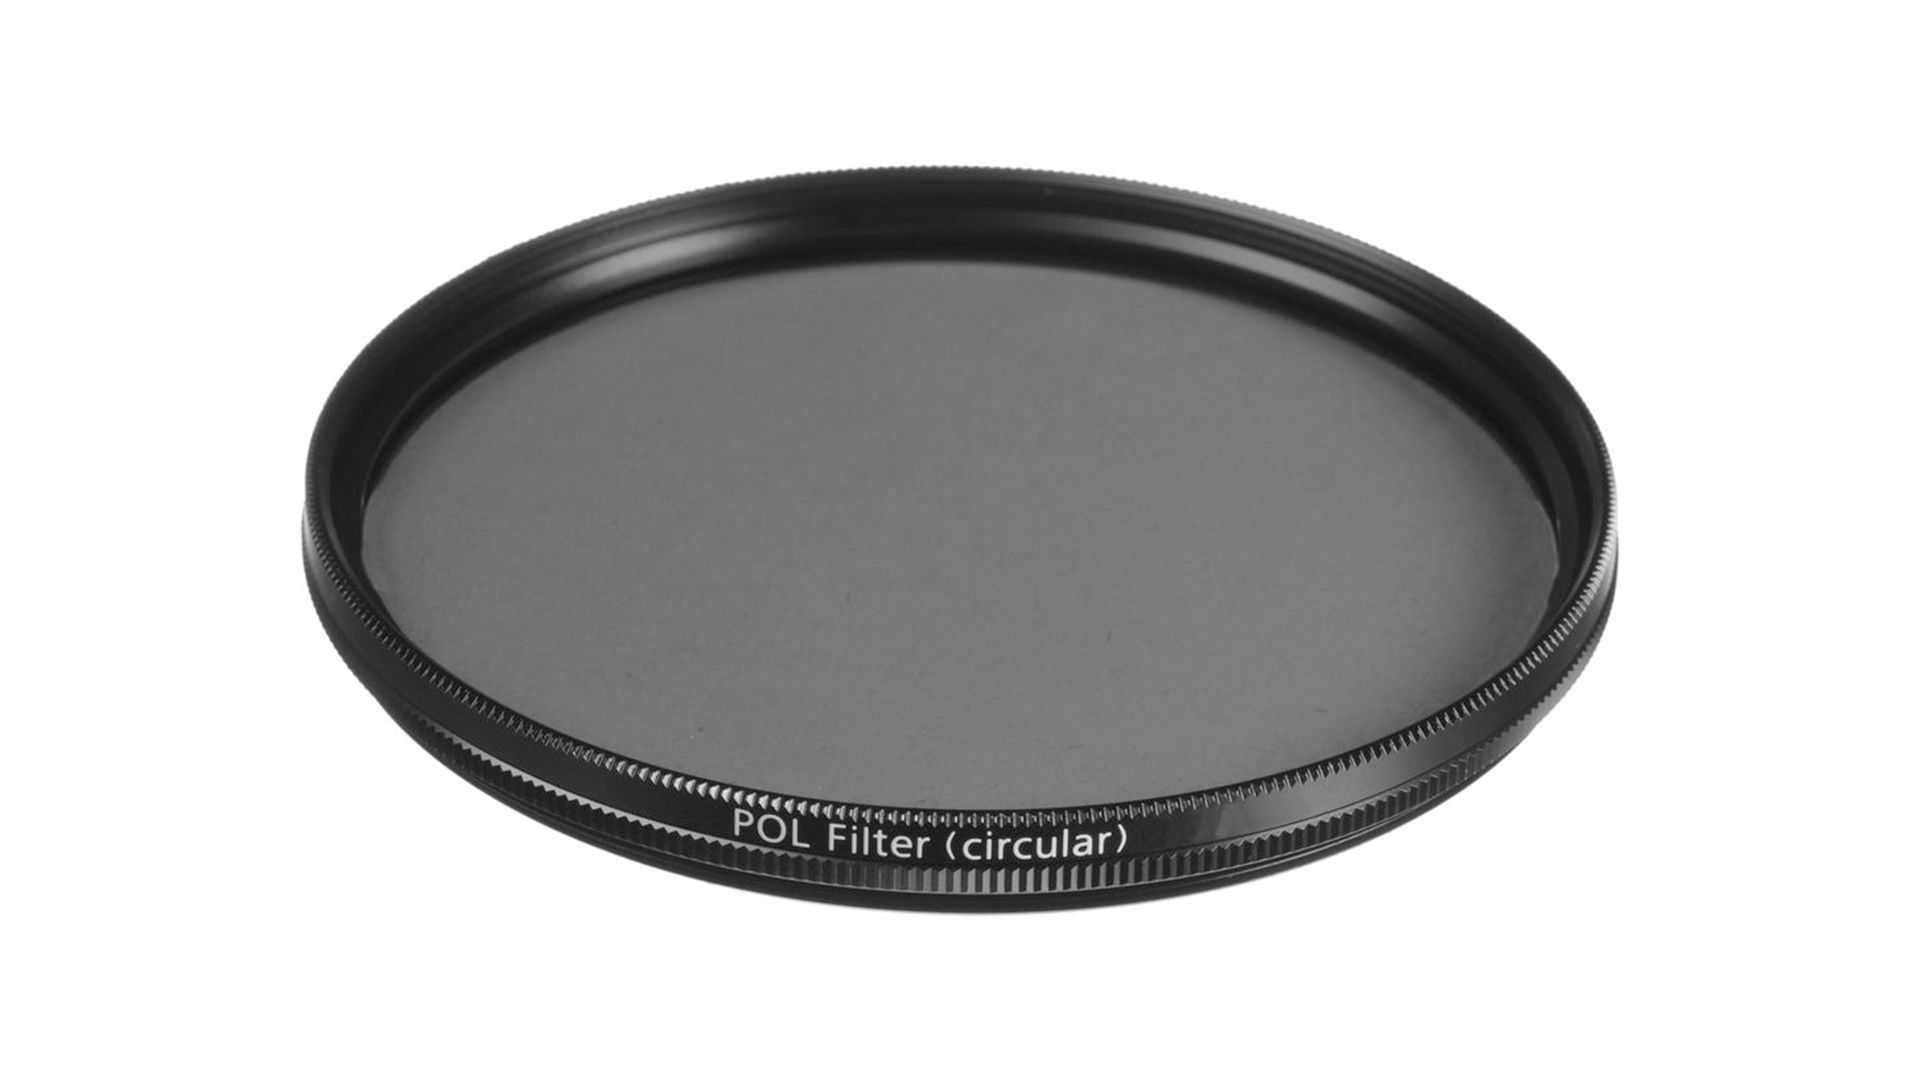
ZEISS T* Circular Polariser Filter
The ZEISS T* Circular Polariser Filter is great for those who want to maximise filtering in stills or videos.
The T* anti-reflective coating helps to reduce reflections on the filter's surface and promote a better light transmission for high quality imagery. The filter ring is designed with a slim profile to allow its use on wide angle lenses, but front filter threads are still available for the use of additional filters.
If you are ready to purchase high-quality camera lens filters that are both affordable and functional, look no further than C.R. Kennedy.
C.R. Kennedy is one of Australia’s leading distributors of cameras and photographic equipment. We offer a wide range of DSLR, mirrorless, full-frame and action cameras.
If you need more information check out more articles on the C.R. Kennedy blog.
